
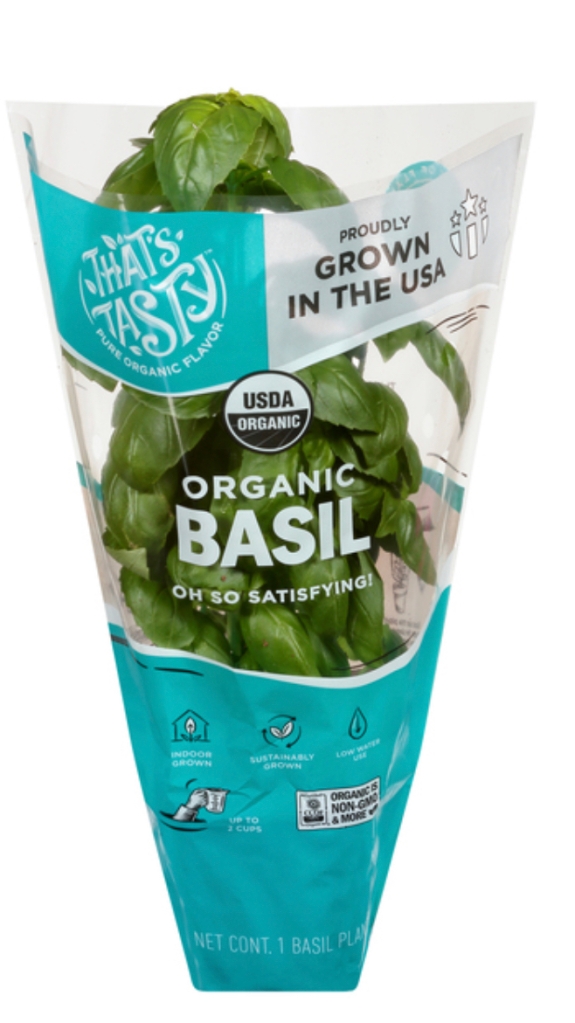
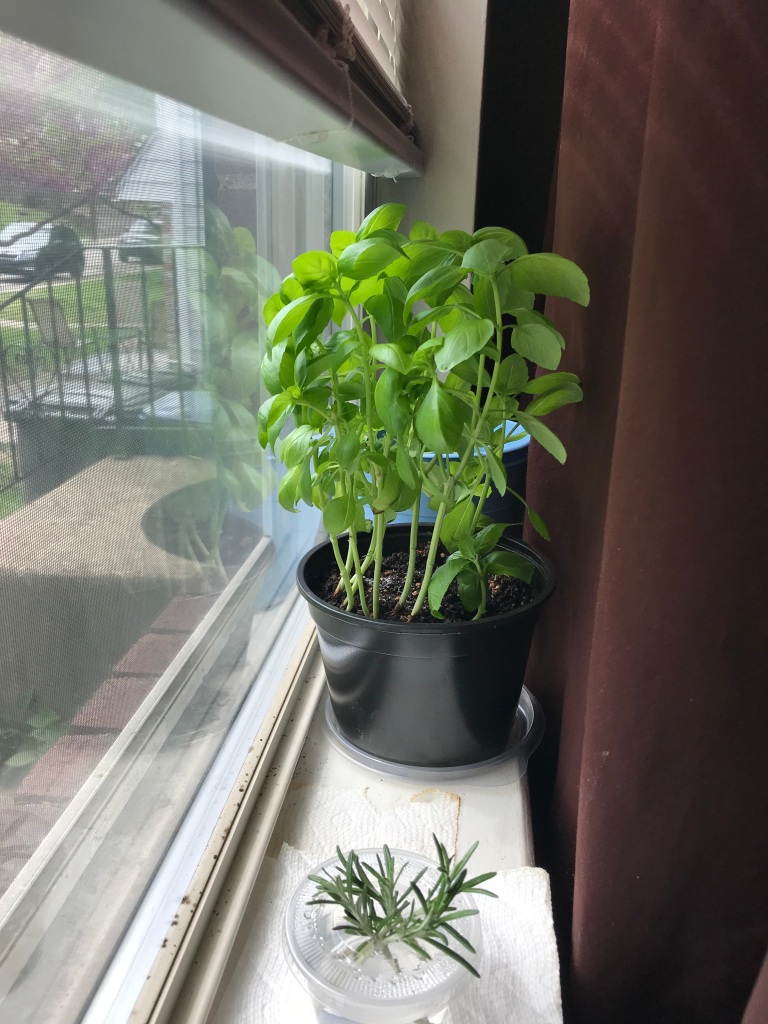
Hey guys! Thanks for stopping by. Let me start off by saying I did not grow my basil from seed. I purchased a beautiful organic living plant from my grocery store. Thanks to Giant Food Store for the beautiful photo above. This is exactly what my plant looked like. (See below) around April 19 before I trimmed it.
Some people purchase this plant to cut all the leaves off and cook/use it immediately. Others want to grow more to eat from the plant for a longer period of time. If you want to use your plant over time for several meals as herbs, seasoning or pesto sauce it is best to re-pot your plant. The reason is because the soil in the pot your plant came in is temporary and the nutrients are by now almost depleted. For this reason re-pot your plant, feed it and reap the benefits.
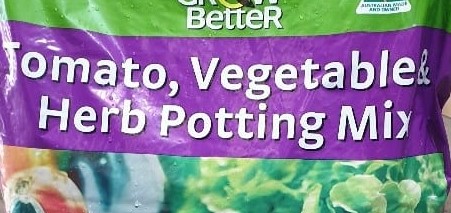
The pot doesn’t need to be large but you may need several depending on how much you want to grow. Purchase a small bag of potting soil. The best one for basil will be rich in nitrogen. Nitrogen promotes growth in foliage, and leaves. There are also mixes that are rich in phosphorus and promote fruit growth and if you are growing veggies and herbs you can find potting mixes that are a rich source of nitrogen and phosphorous without being overly abundant.
After repotting I chose to trim my plant so that I may propagate it, meaning to reproduce the plant by trimming the stems and placing them in water to grow roots. Then planting the stem in a new pot of potting mix. Here is how I did it.
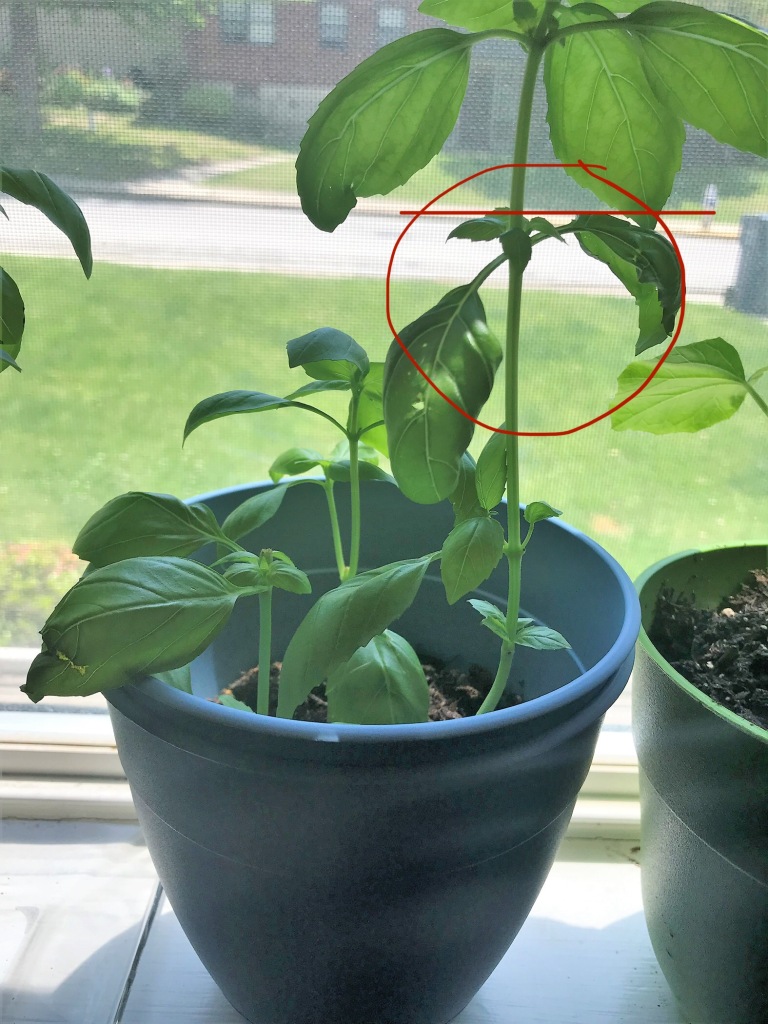
Find a tall stem that has at least 2 lower sections of leaves. The ones that branch out, I call them “arms”. Look in the photo below. It has several sections of leaves, the one closest to the soil at the very bottom being the smallest does not have any arms, so you wouldn’t trim it there. The one above it is still growing and has one arm soon to have another. The third section from the bottom has two arms and a new set of tiny leaves soon to become arms. (Circled below) The red line is where you want to cut. This way, each of the arms below the cut will produce 2 more arms. The section you cut off may be short, but that is okay it will grow just fine.
Place the cutting in a glass of distilled water. Try not to let the leaves sit in the water, keep them nice and dry and only the stem in the water. Place it in a sunny spot. You can cut many stems like I did below.
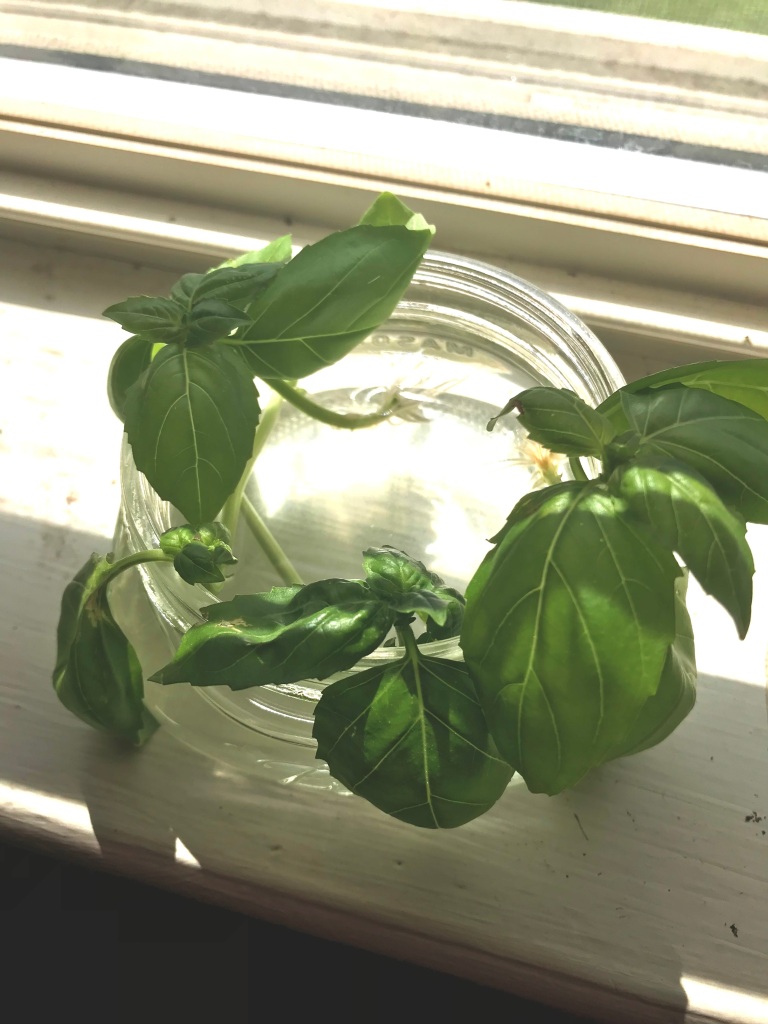
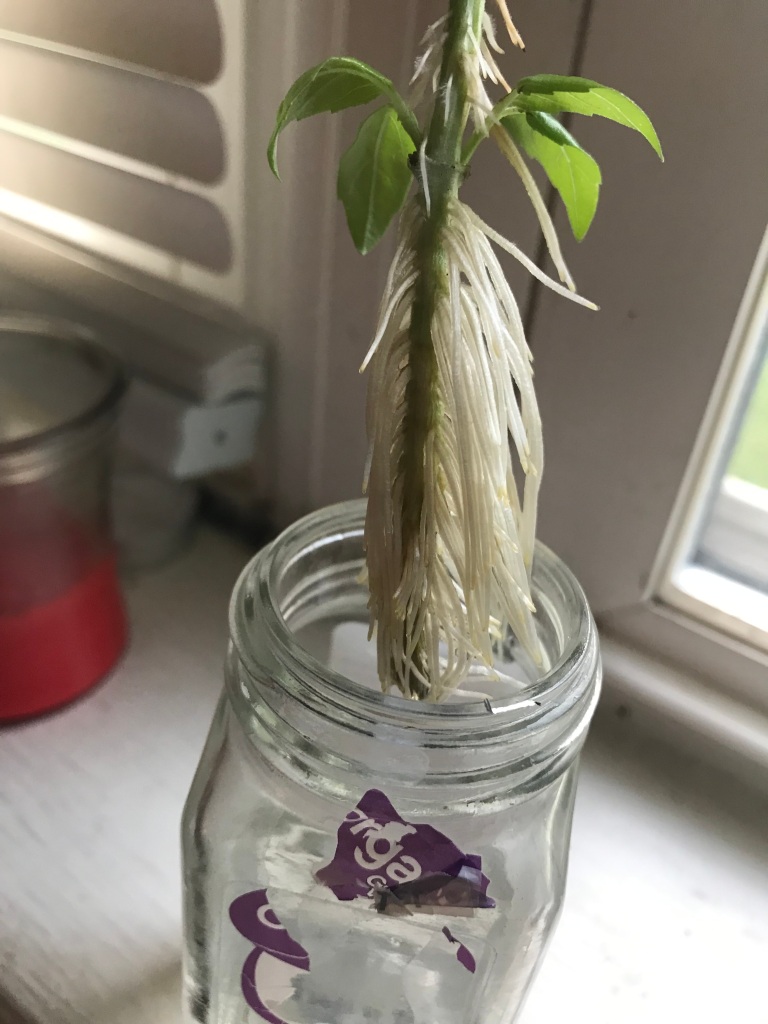
The photo above shows a 4 ounce class jar with trimmings. After3 to 4 days you will start to see little roots popping out. If on the 4th or 5th day you still don’t see any roots don’t be discouraged, empty the water and wipe out the jar and replenish it. You should change the water at least once per week. Once I didn’t have roots after 5 days so I changed the water and placed the jar back in a sunny spot. I almost forgot my little guy. After a few days I checked on it and it had a ton of roots. This clipping was also tall. (see photo below) The jar I put it in was an old spice jar. You can tell it out grew his home and was ready for a more permanent one.
After you have some roots, your plant will need more nutrients to continue to grow and produce like you want. This is when you plant it in the potting soil. You can plant several in one pot.
And simply continue to nurture your plants. Don’t let the soil be constantly wet. You can let it dry out a bit but remember to water it 2 to 3 times a week as needed. I used my own photos for this post. .
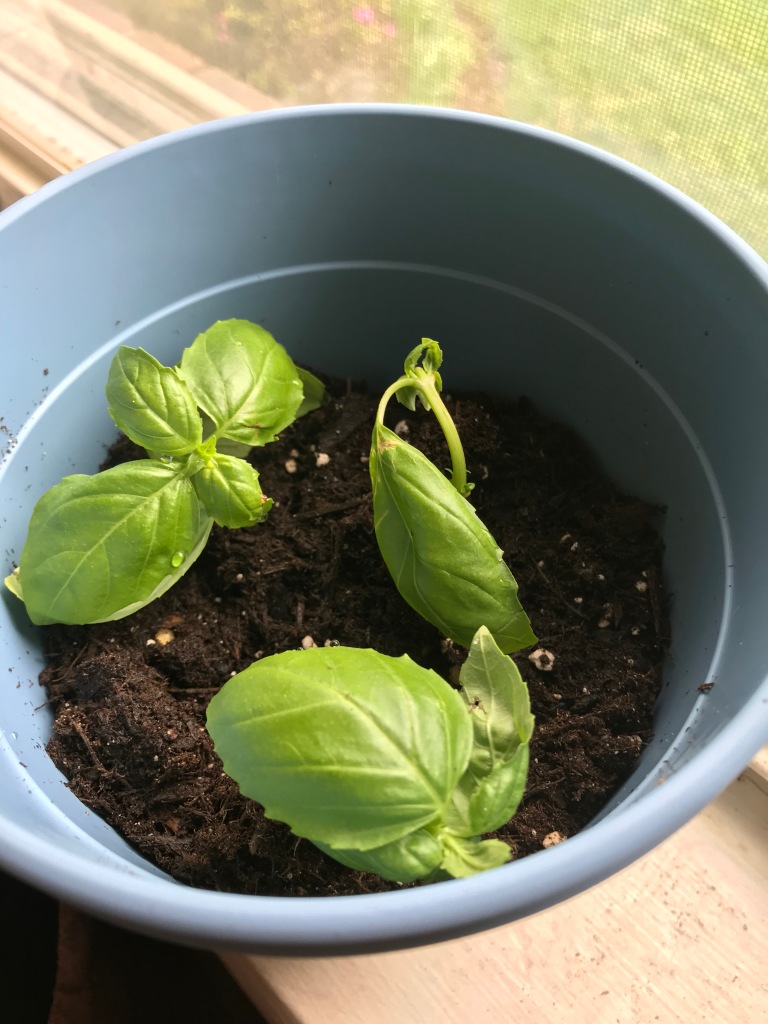
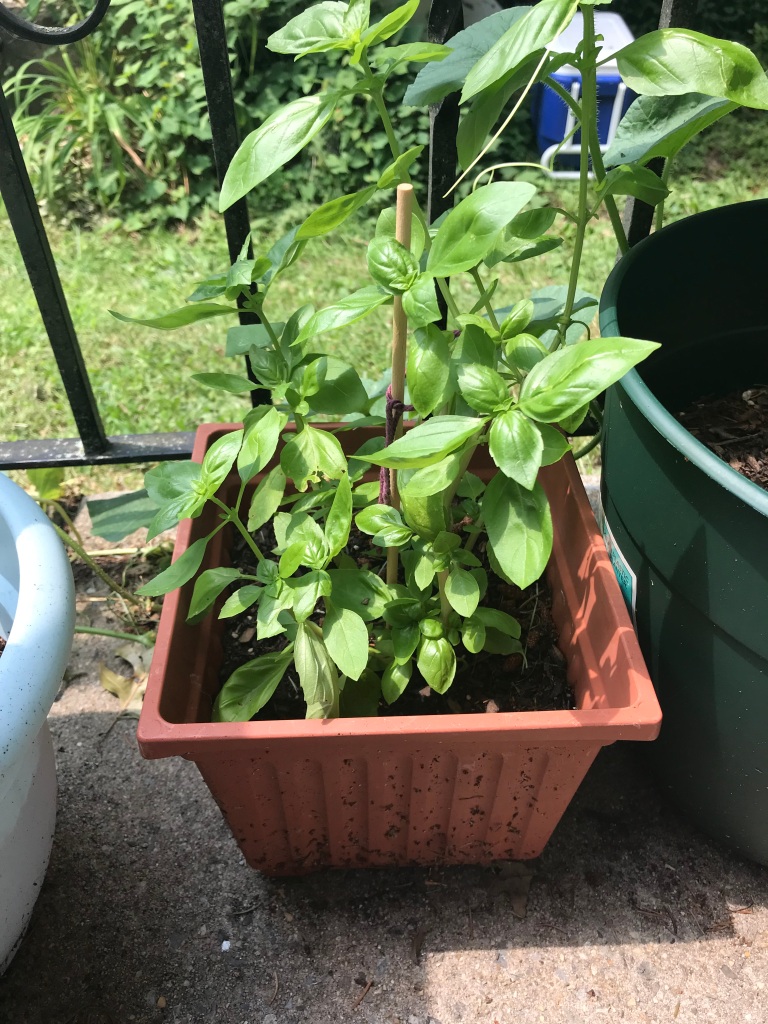
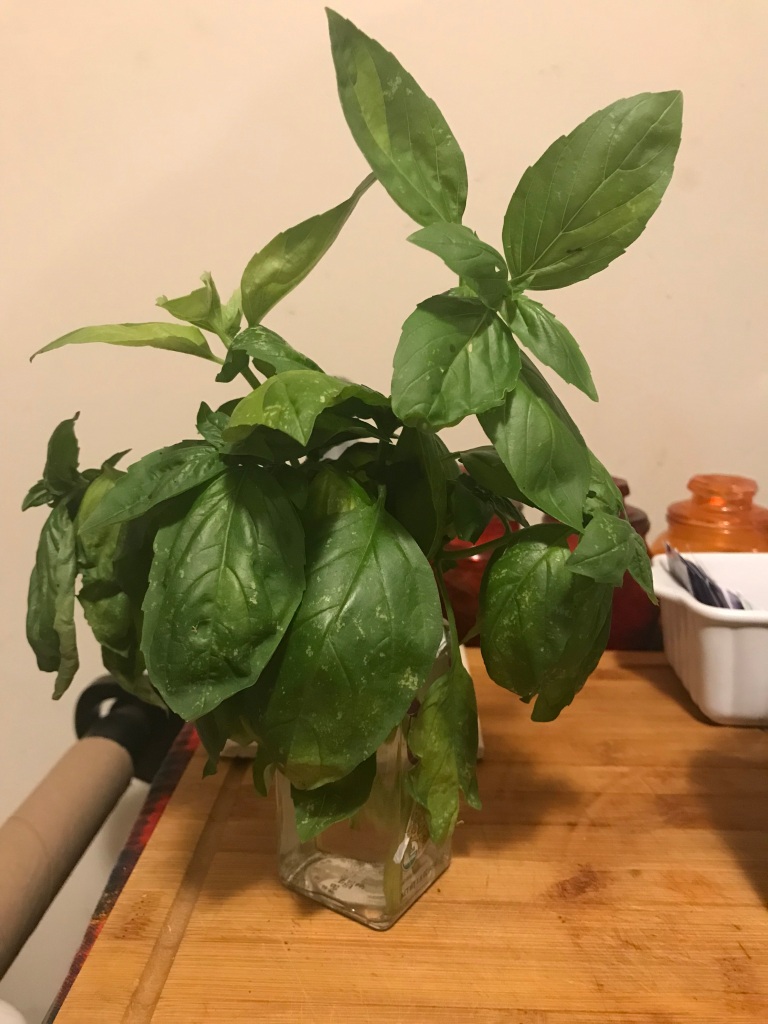
In the 4 photos below you can see the growth. In photo #1 this is my repotted basil on April 19 right before I trimmed it . I trimmed the basil on April 23 and placed them in a small jar of water. On the 27th they began to show roots and by April 30th the roots were strong enough (photo #2) to plant them in a pot. You can see how sparse my mature plant looks in photo #3 from being trimmed. By May 20th my basil was growing well and I felt the need to trim the longer stem (photo #4 below) so my plant would grow bushy instead of tall and thin. So I trimmed it and continued to propagate.

#1 
#2 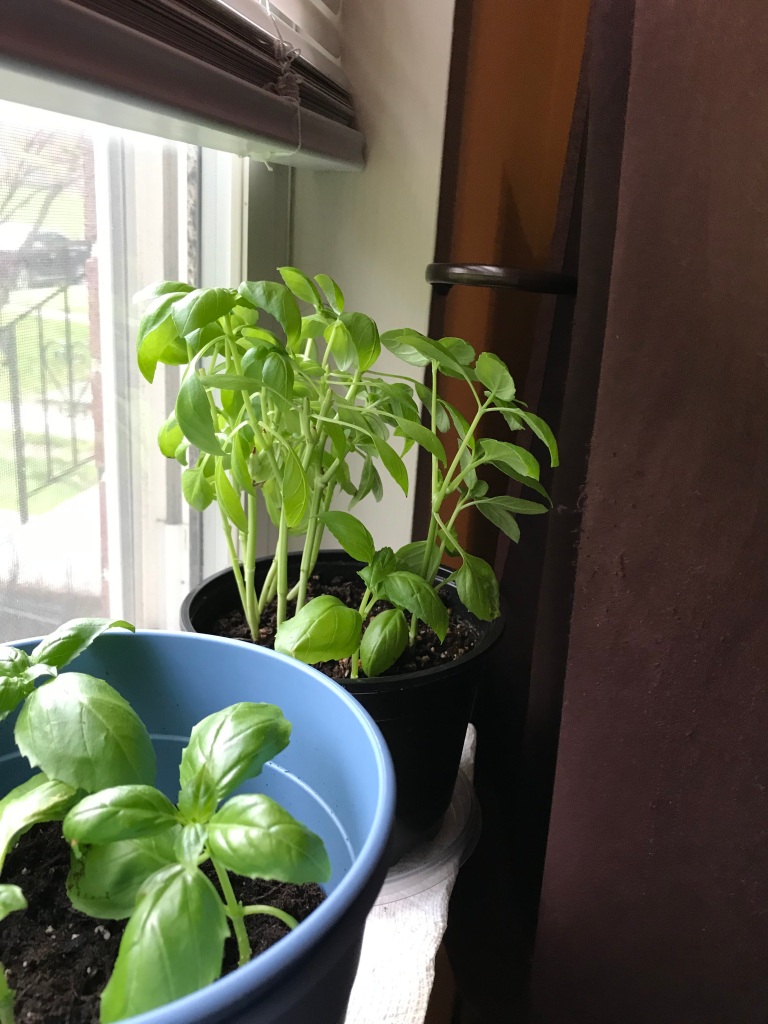
#3 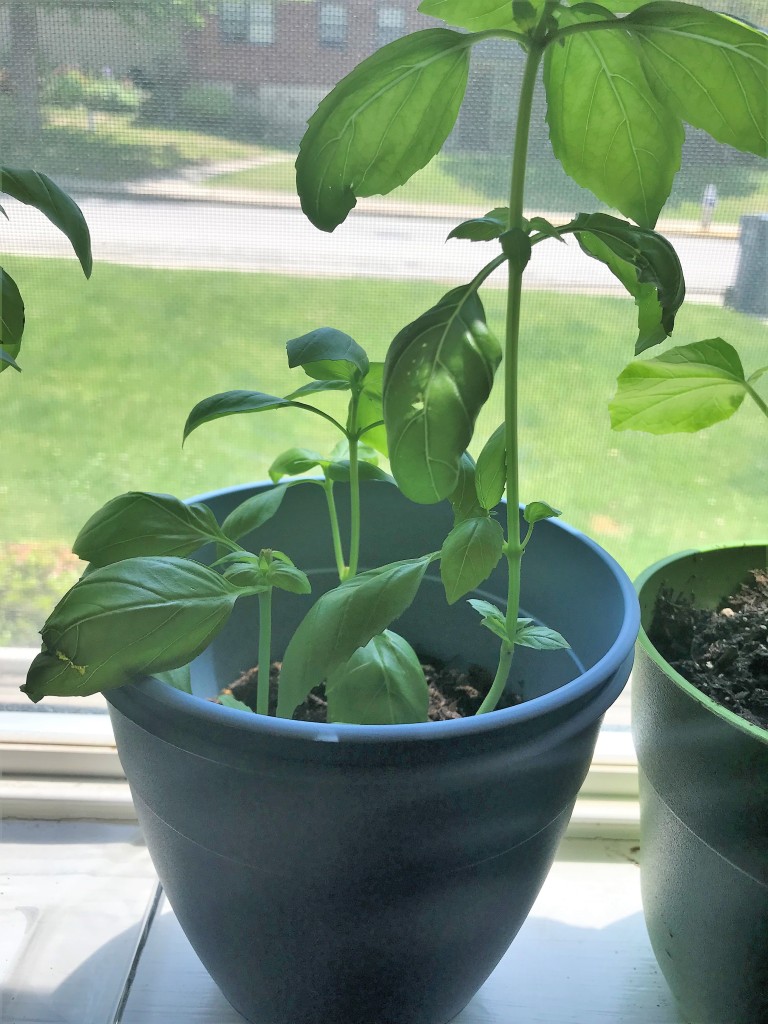
#4
I picked lots of leaves from my plants and even put them outside in the sun.

As the season came to a close around September my plants began to die of disease, I am not sure what kind, but I kept the basil that was inside my house, and continued to use it. I never allowed my basil to go to seed. When basil goes to seed it will produce pretty flowers on the top which means it is dying and trying to preserve itself by producing flowers to spread it’s seeds. When this happens the basil becomes bitter, so you want to continue to harvest its leaves especially at the top so it won’t go to seed.
Have you ever grew basil? Do you think now it may seem more doable? It is! You can grow your own basil. Try it and let me know how it goes in the comments below.
If you would like to see more content like this, or bible studies, sewing, meal/menu planning, recipes crochet, crafts or just life events consider subscribing, or just come back and see what we are getting into.
Thanks for stopping by to read my post!

