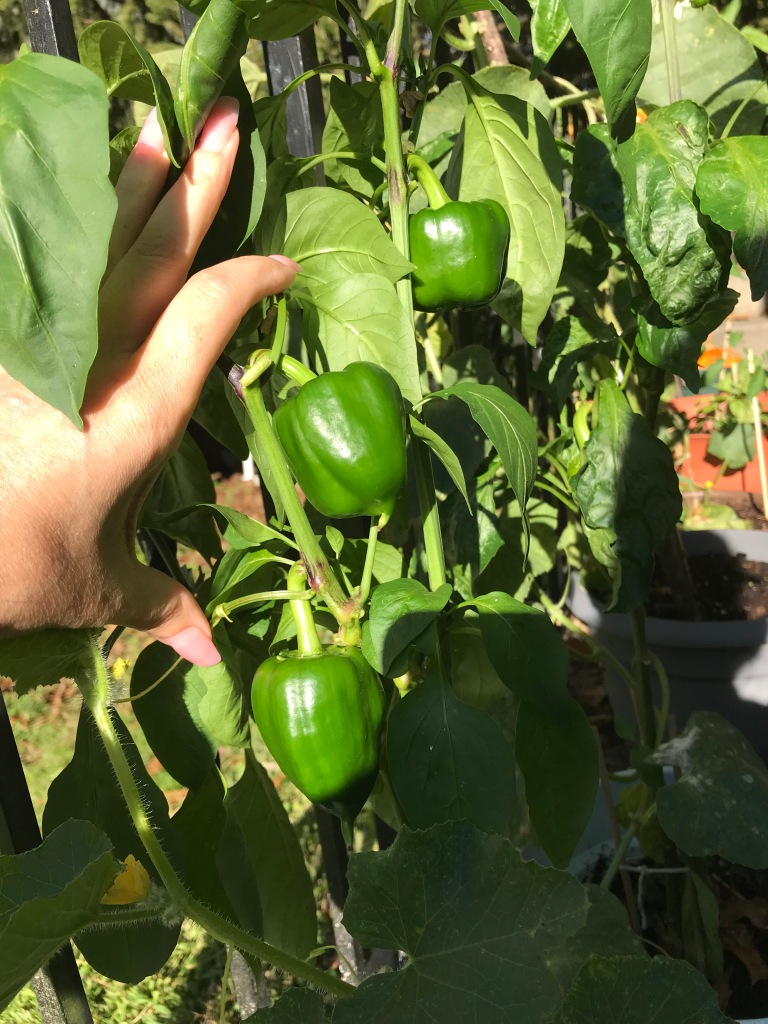
As you can see, I chose to grow bell peppers. To be more exact, I grew California Wonder Bell Peppers. They didn’t get too big, but they were very flavorful.
I started them from seed and they sprouted around the 20th of May and grew pretty fast. One plant didn’t germinate. So instead of 3 plants I had 2.
I kept them in the window sill until they were too big for their container. They were getting 8 hours of sun. As the days wore on and the amount of sun lessened to 6 hours I knew it was time to put them in some bigger pots and put them outside to get more sun.
On June 24 I put them in bigger pots and prepared them for the outside.
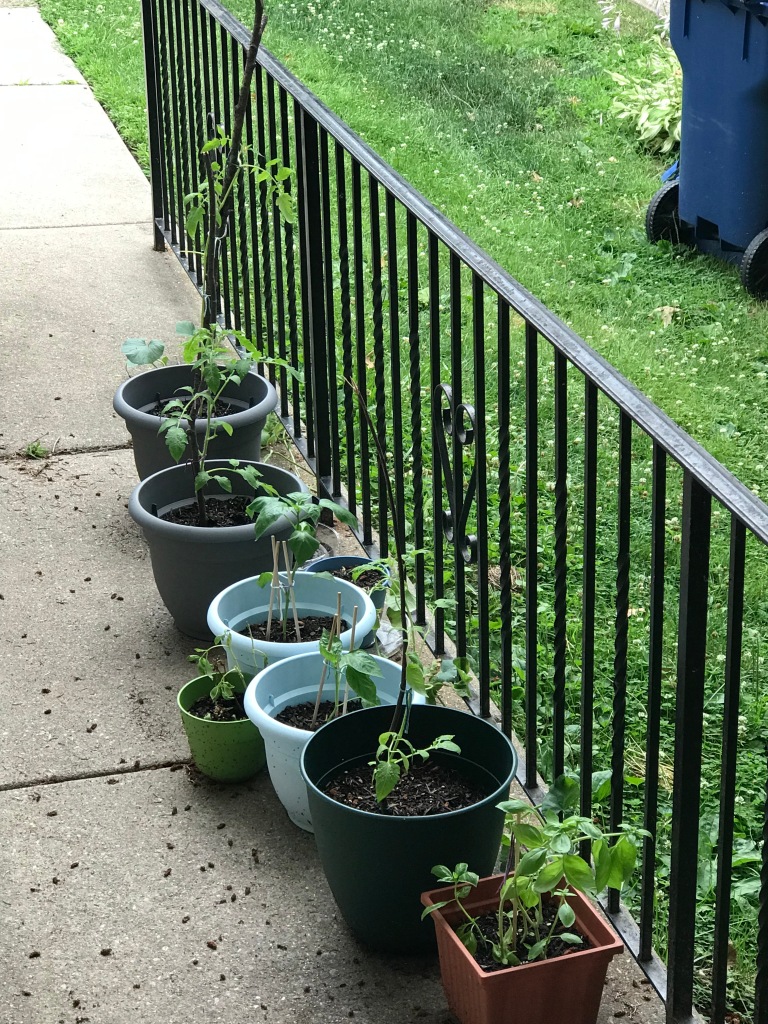
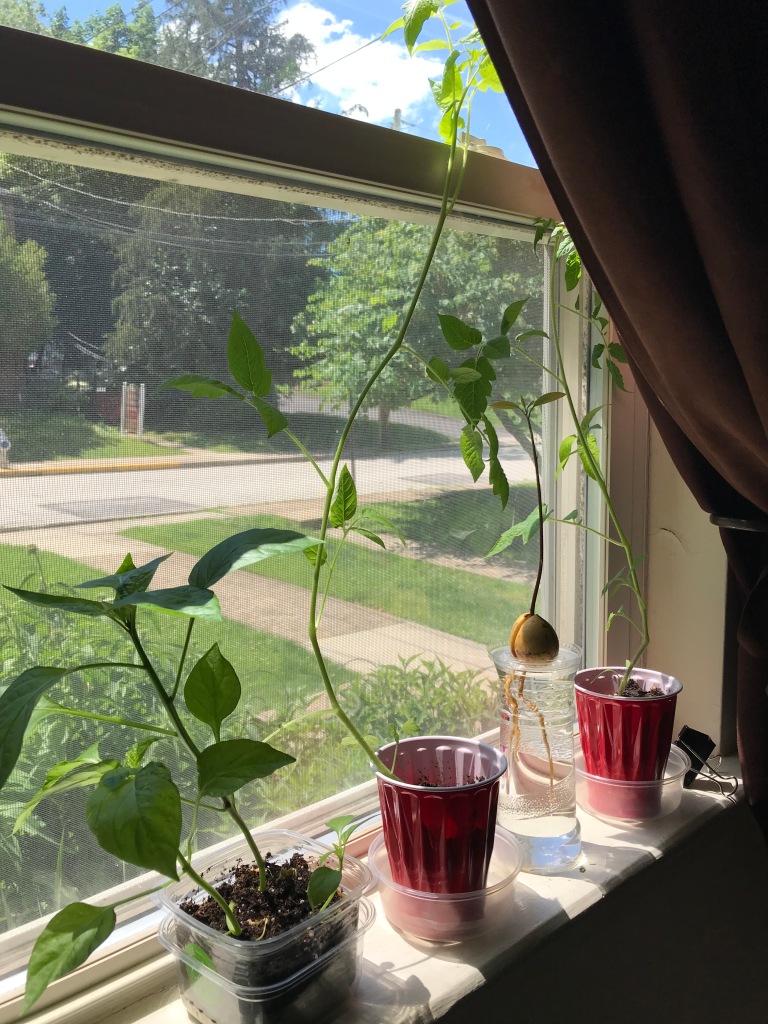
I started hardening them off on the 24th of June and they were outside overnight for the first time on July 1. These are my plants. The Bell Peppers are in the light blue pots.
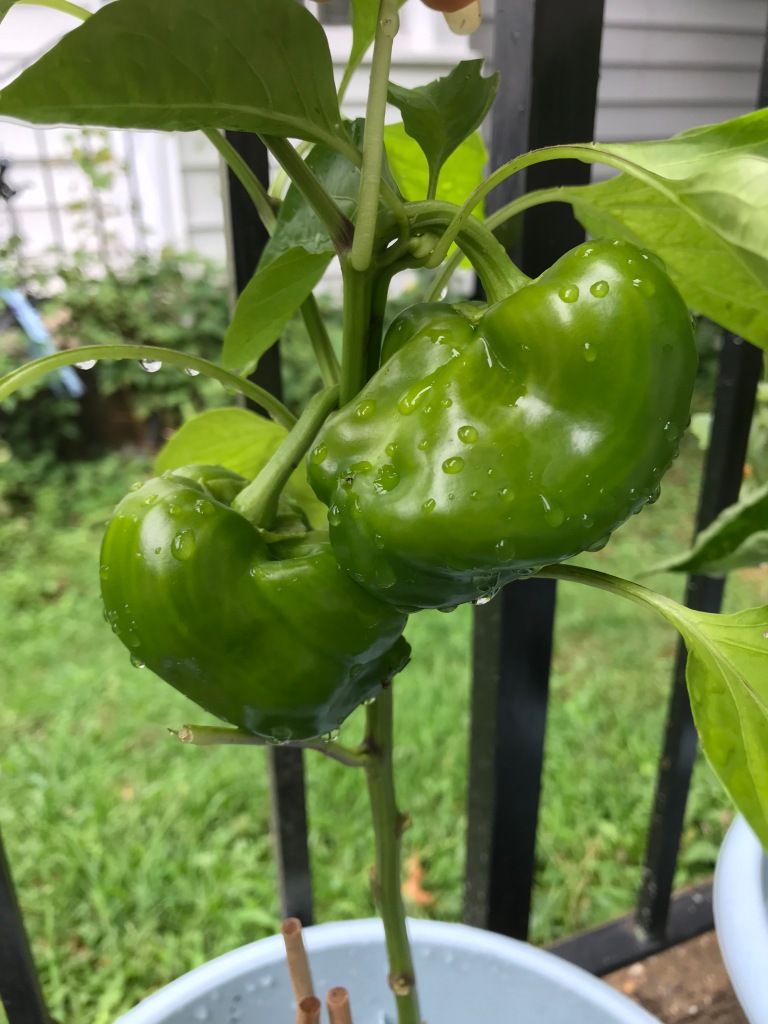
There were lots of little blossoms that opened but only two blossoms produced peppers. The other blossoms fell off. I was so disappointed.
But those two grew, and I became very proud of them.
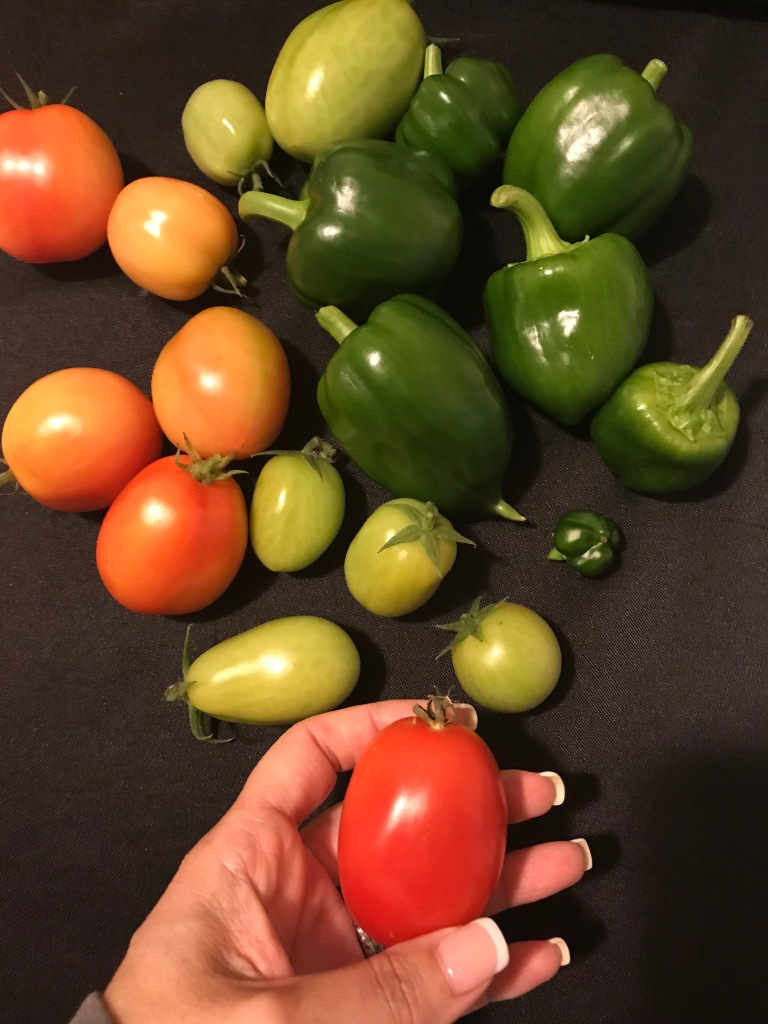
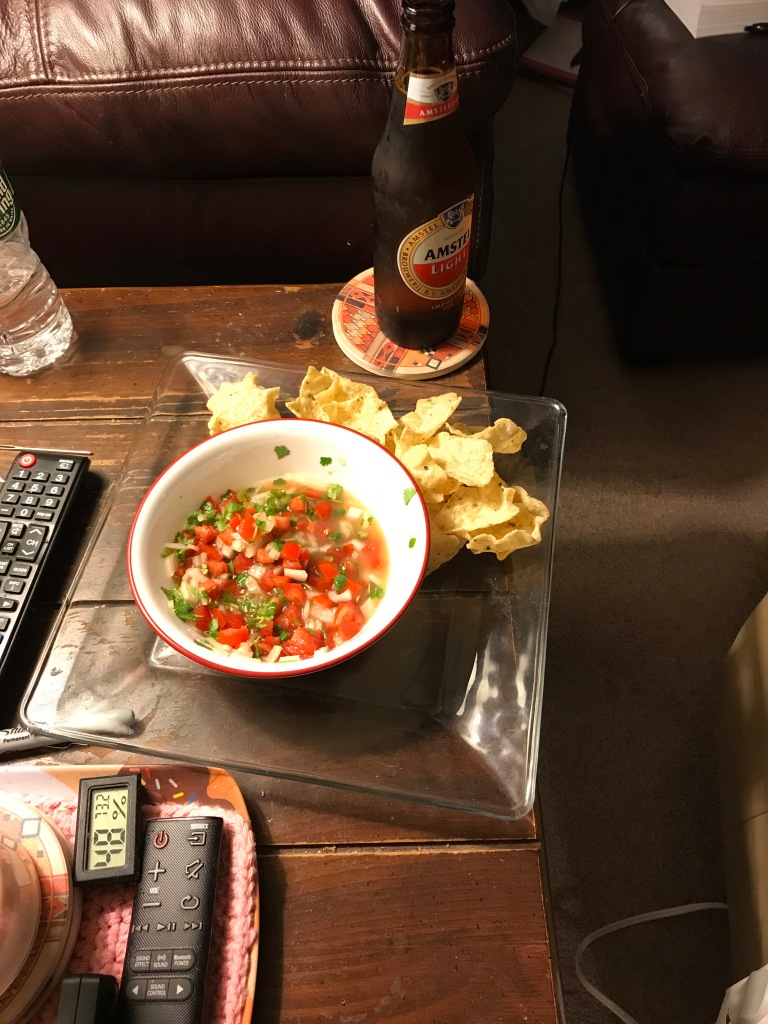
After we ate these peppers in a salsa (with jalapeno, onion, tomatoes salt and fresh squeezed lime juice) I got another bumper crop of peppers. This time I got 8 peppers. I think they would’ve grown larger, but I had to pick them because we were going to be having freezing temperatures. Also I started the seeds way too late, I should’ve started them in February (indoors) but instead I started them at the end of May. That is 3 months too late, I could’ve had another crop of peppers. We ate these peppers on salads and pizzas and let me tell you, they have a strong flavor, not like what you get in a grocery store.
Next year will be 2022 and I will be starting a larger garden. My goal is to grow enough food to not have to buy vegetables in the store. I want to grow tomatoes for salads, pasta sauce, pizza sauce, sandwiches, soups like chili, veggie soup and so much more. We eat pizza every Friday night. EVERY Friday night for the past couple of years and lately I make it during the week as well. I make the dough from scratch, and cook tomatoes for the sauce. I buy my peppers from the Amish food stands in Lancaster County, peppers that I have pickled (banana peppers) jalapenos and Cheyenne peppers. So I will need 25 of the 16 oz glass jars of pizza sauce just to have 1 pizza per week. (One jar is enough for for 2 and a half pizzas.) And I will need to freeze a ton of peppers for the pizza as well.
I hope you enjoyed this post. If you would like to join me on this journey to growing our own food consider subscribing to my page so you will be updated by email whenever I publish another post.
If you plan to grow veggie, herbs or flowers or are already growing these things let me know in the comments section below what you are growing or plan to grow, I’d love to hear from you.
Last week I introduced you to my little avocado that I started back in April of 2021 and shows the progress of that little guy and how fast he grew. If you missed it you can read about it HERE.
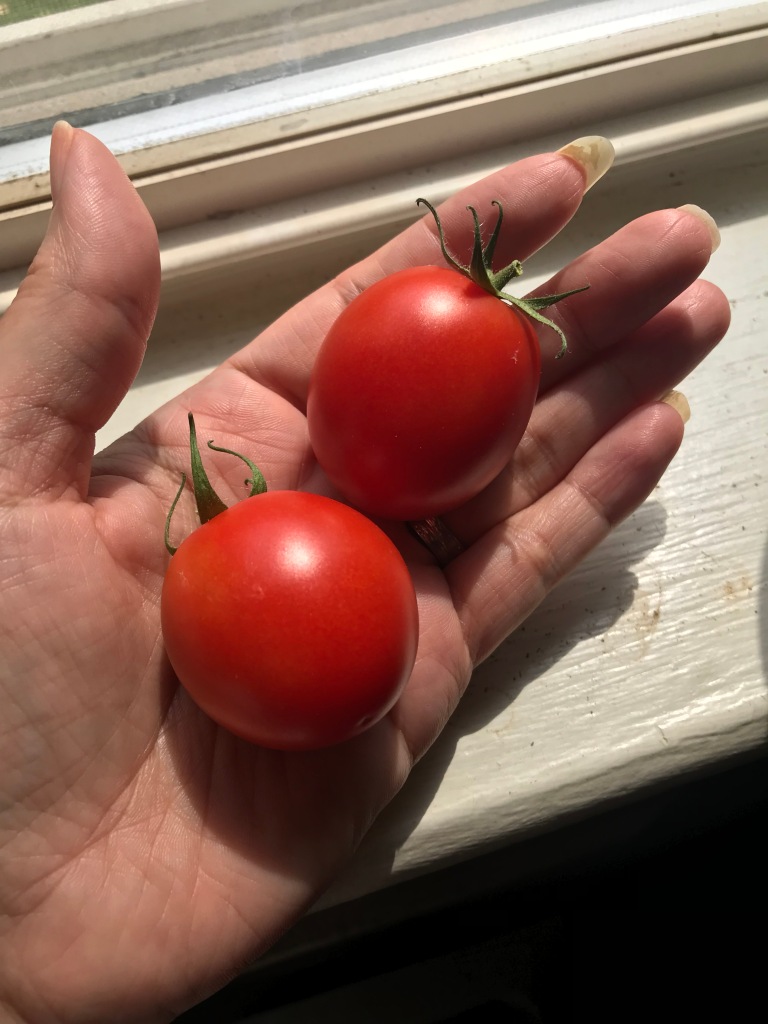
Today I want to show you my tomato plants that I started from seeds. Yes seeds. Growing your own tomatoes is very rewarding not to mention they taste better than store bought. They are full of flavor.
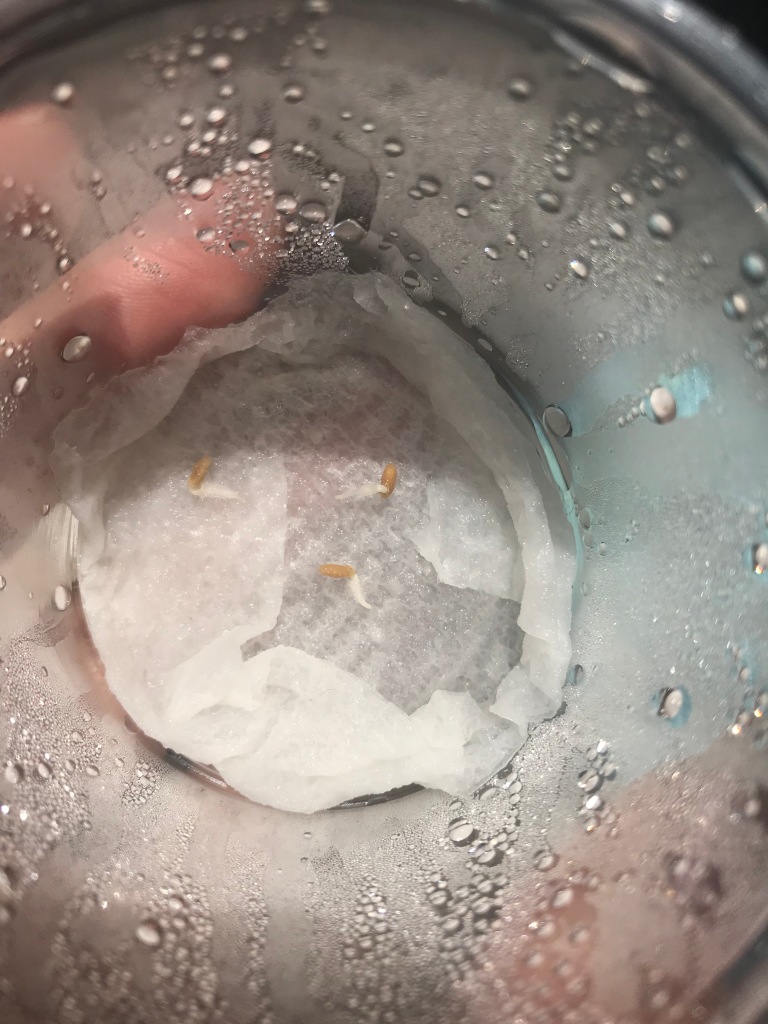
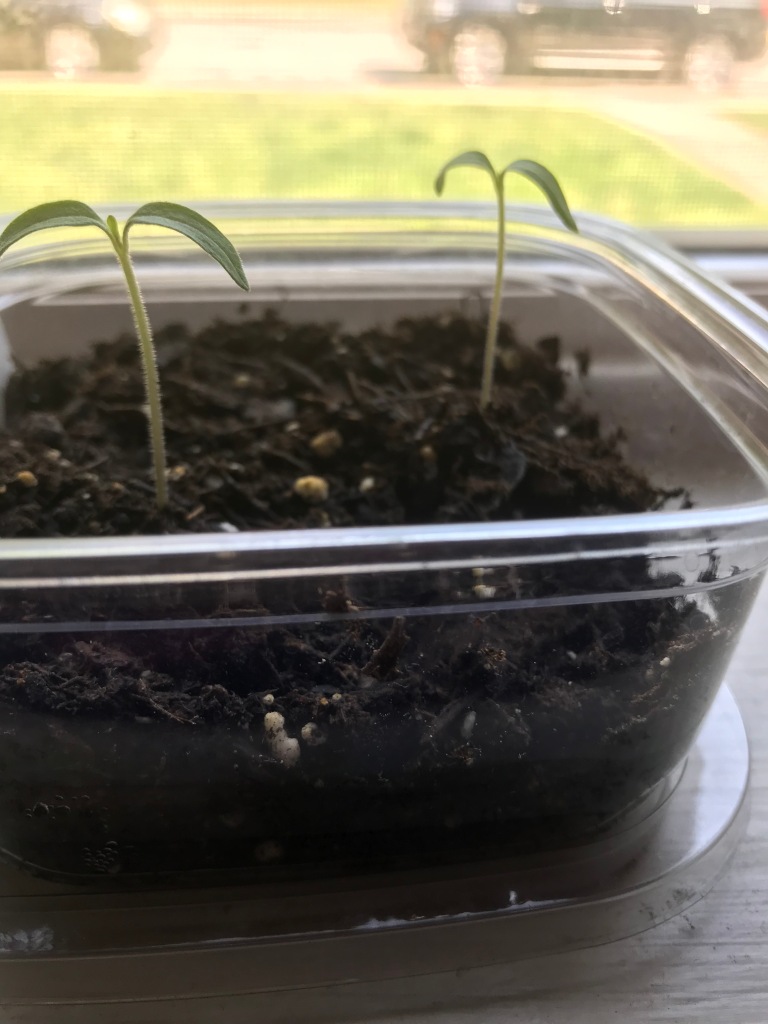
I germinated 3 Roma tomato seeds in a small condiment cup. It was the kind of cup you might get when you order takeout and ask for extra ketchup. You can get these cups from Amazon, I believe they are 4oz cups.
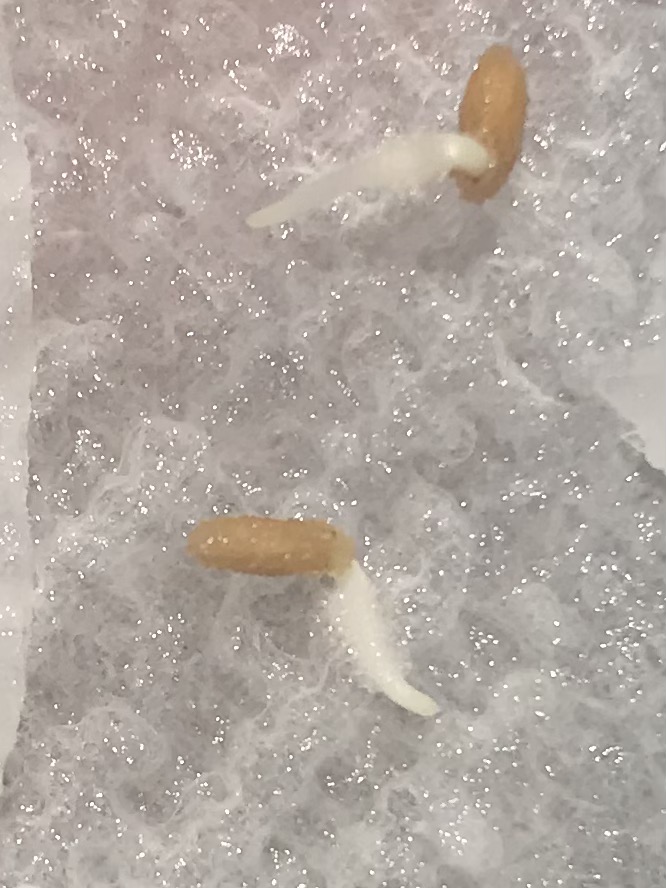
I placed a small square of a damp paper towel in the bottom of the cup and placed 3 seeds on the paper towel and sealed it with a lid. They germinated in two days. You can see the tiny seeds in the first picture, but the second picture is a close-up. See the white root sticking out of each seed in the photos below. Cool huh?
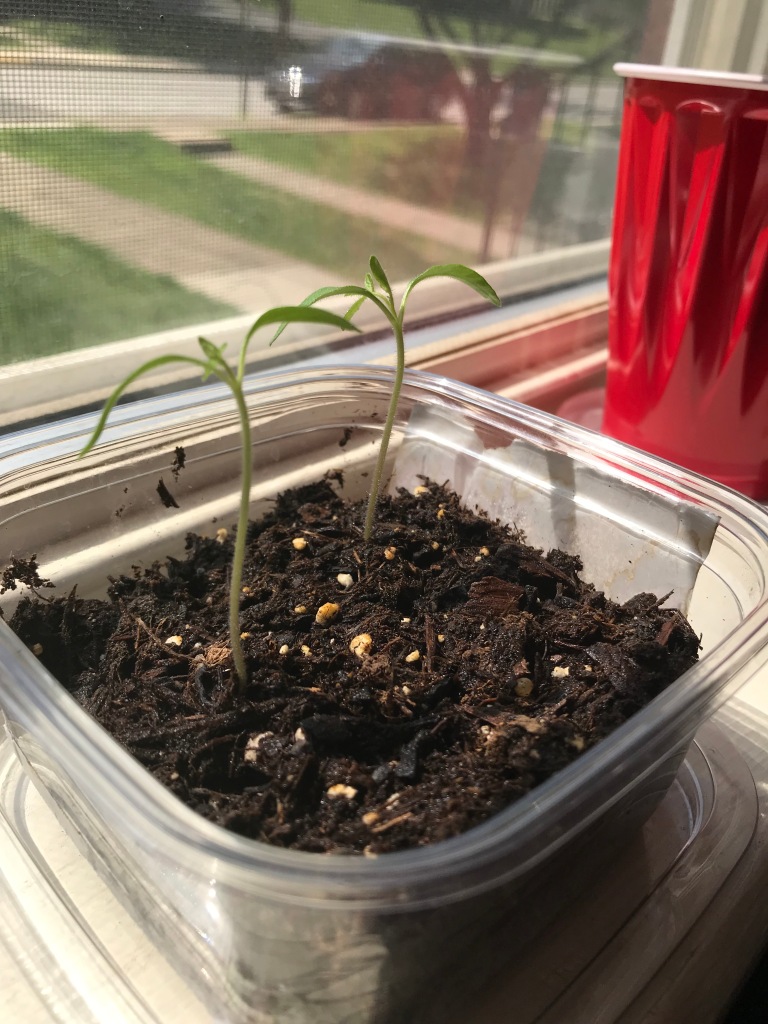
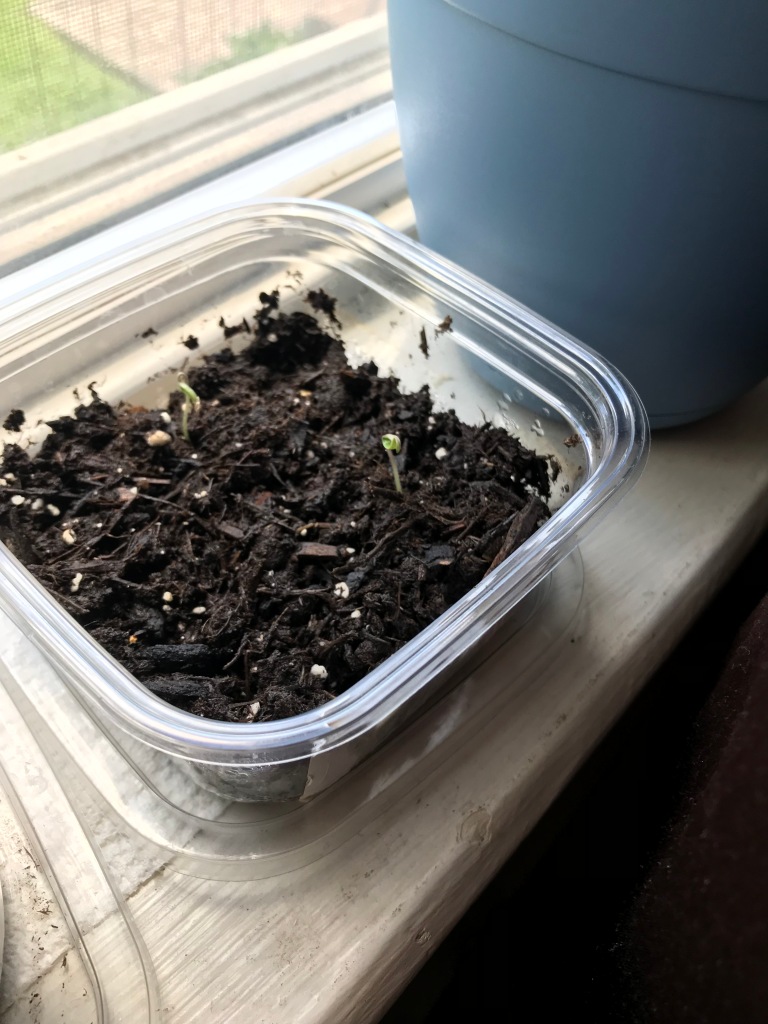
I planted the seeds in some moist potting mix and set them in the window where they got full sun for 6-8 hours every day. Two of the tomatoes sprouted within two days the other one came up later.
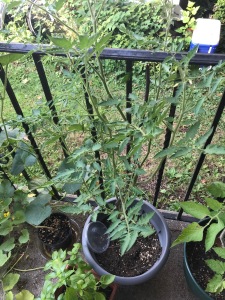
Later they grew so fast, I placed them in red solo cups. The tomato plants pictured below were taken on June 24.
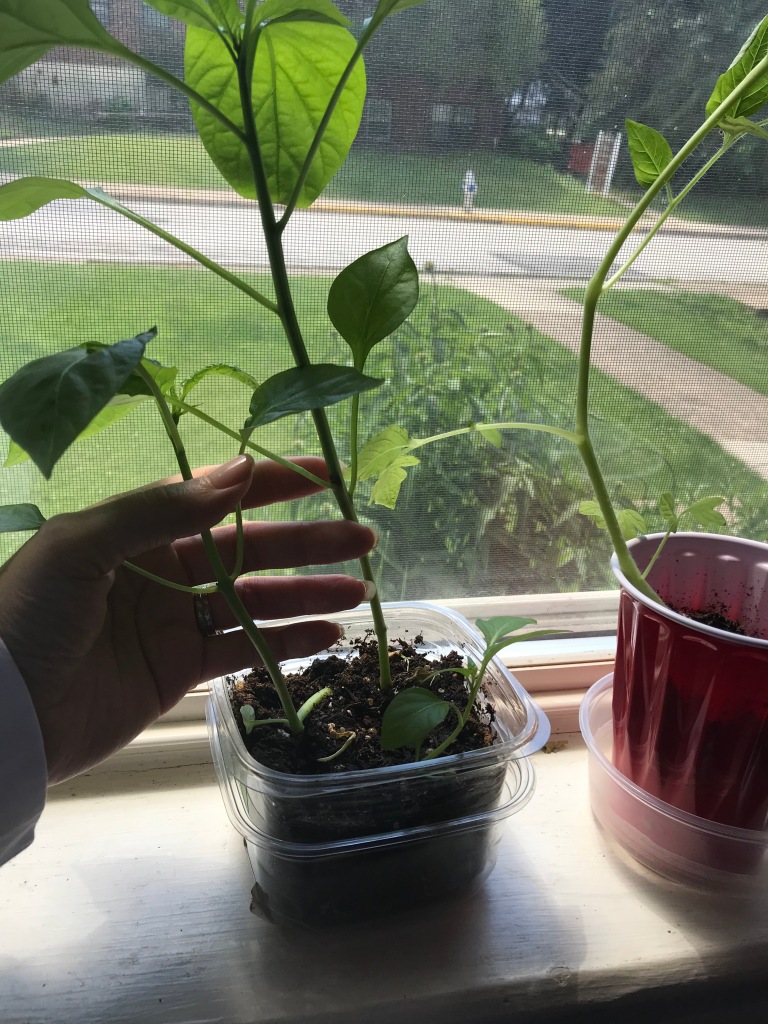
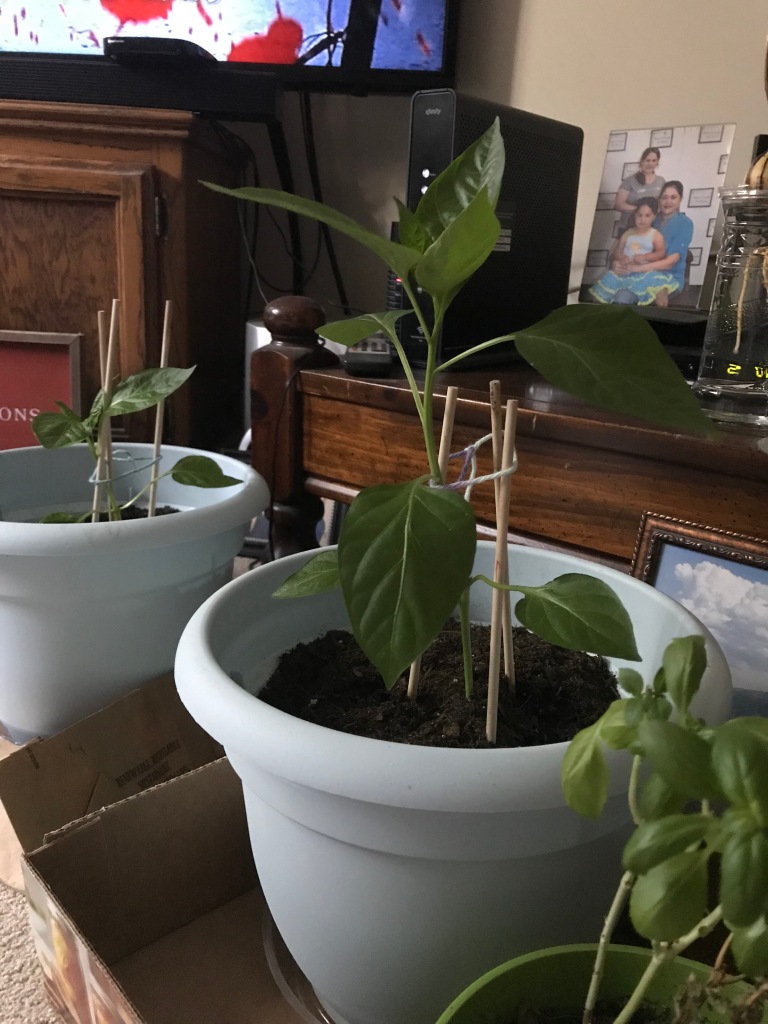
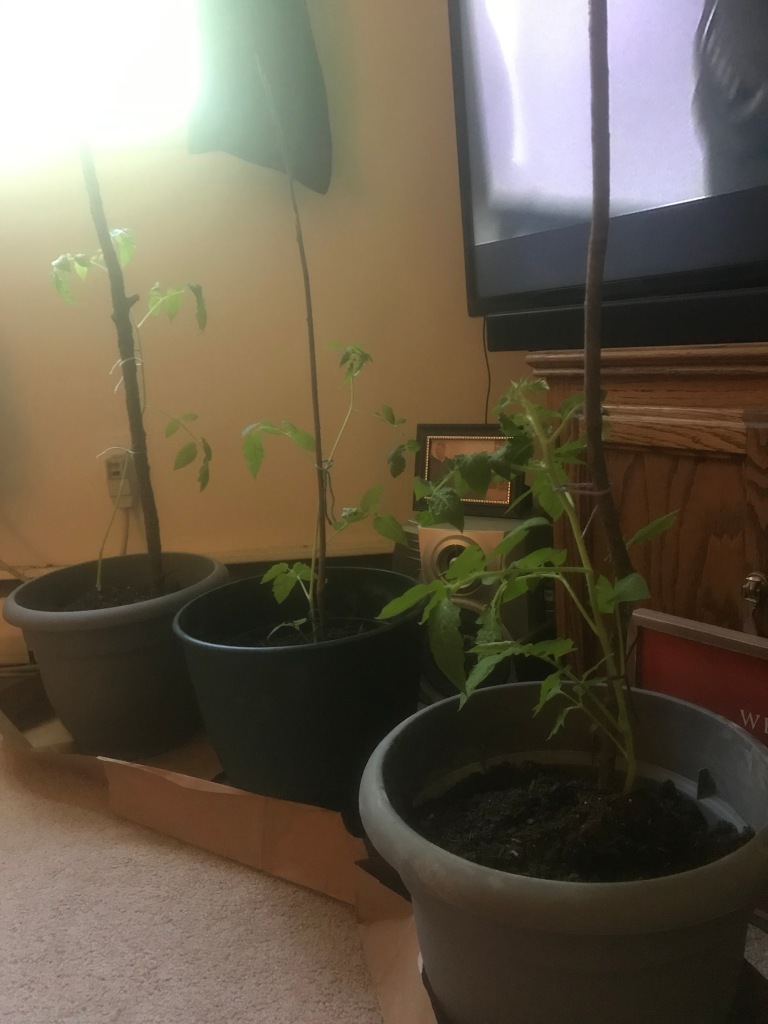
By that time I had to pot them up and put them in larger containers and start hardening them off. Hardening off a plant or plants means to get them used to outside temperatures. On the first day, put them outside for an hour. Somewhere where they will get the required amount of sunshine. After that hour, bring them back in the house, or where they were prior. On the 2nd day they need to be outside for 2 hours. If you are in an area where it is abnormally hot, you may only leave them outside for a couple of hours each day for a week. Otherwise increase it by an hour each day. After my plants were out for 5 hours, I just left them outside all night from then on. They need the sunshine and the heat to help produce fruit. Below are all three in their new pot-homes. Photo was taken on June 24 and that was when I started setting them outside to get use to the heat. They needed support so I found some sturdy branches in the yard and just loosely tied cotton yarn around them to hold them up. Poor babies are used to the air conditioning.
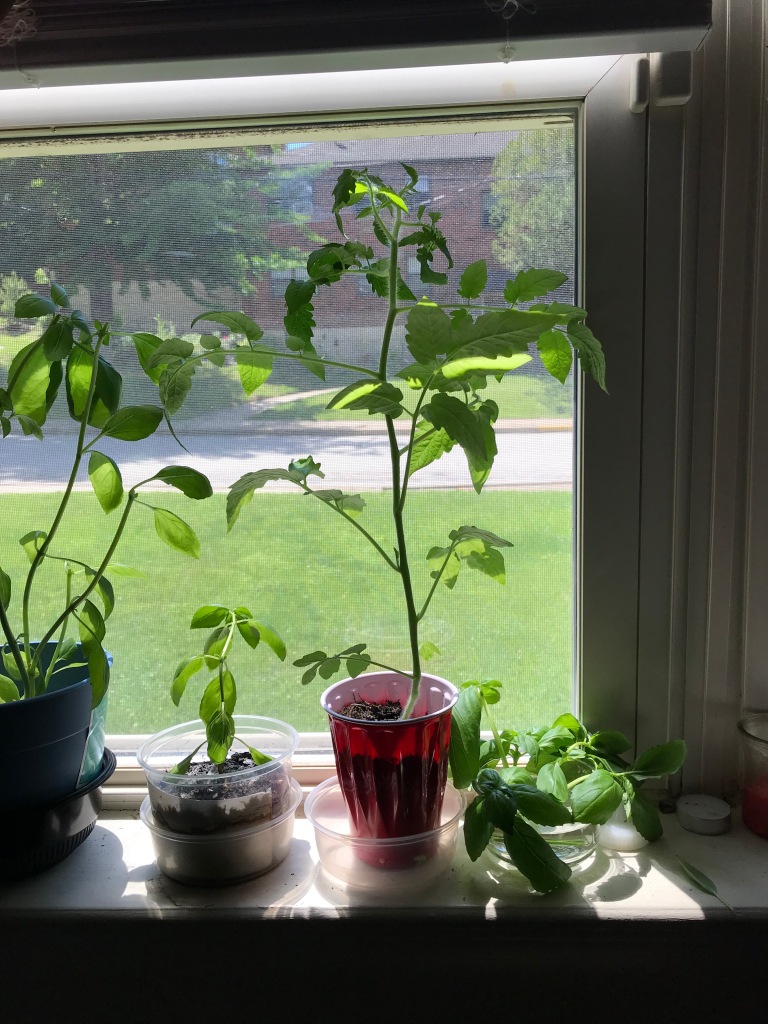
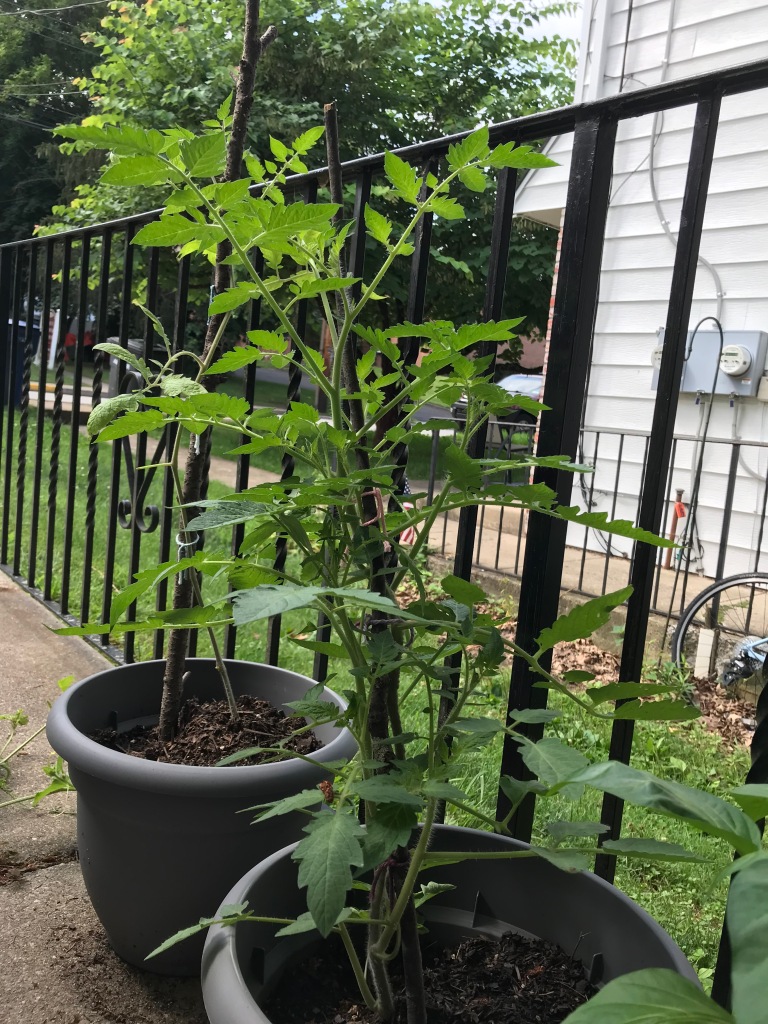
Once I put them outside to harden off, they got stronger and stronger each day. Below, is the first day the plants were left out overnight. The red square pot is basil, the large green one next to it is a tomato. The two light blue pots are bell peppers, and the last two are tomatoes.
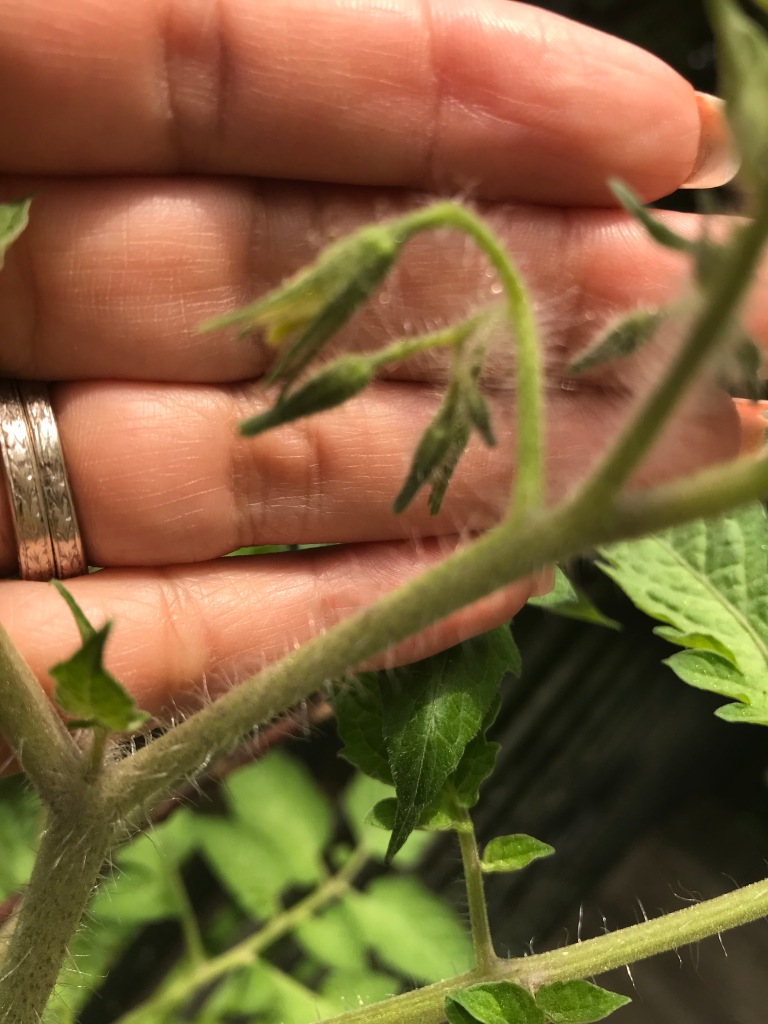
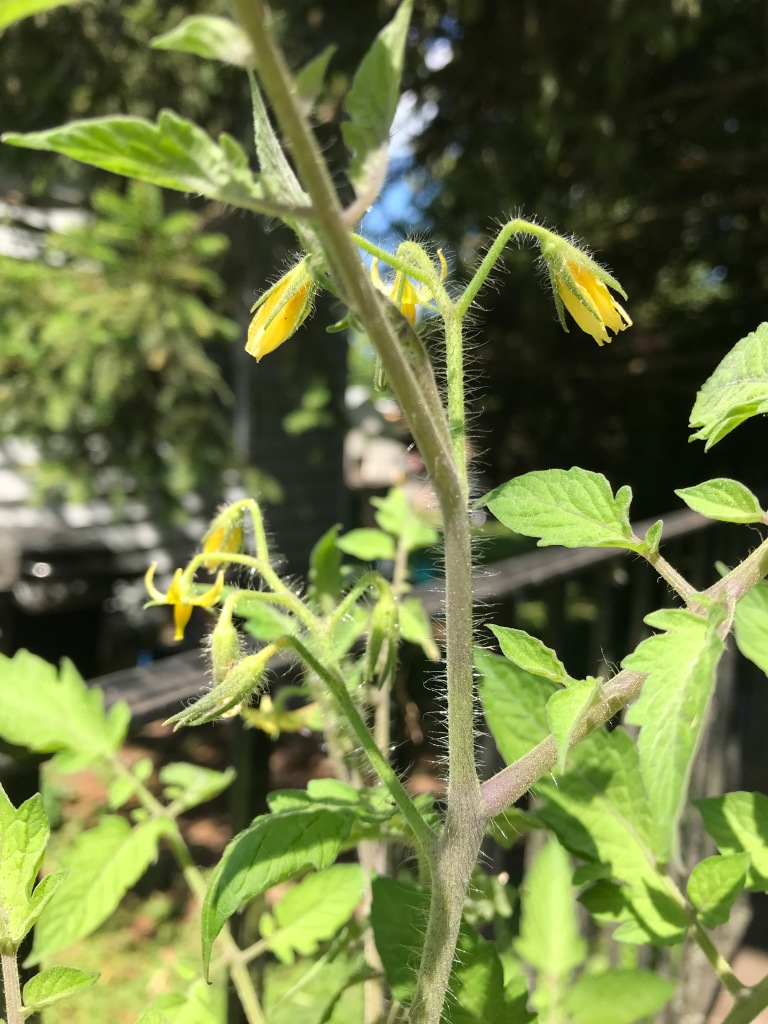
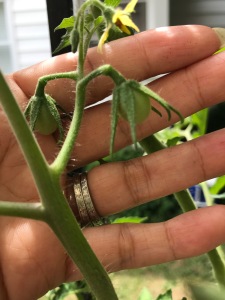
After about two weeks, the second last tomato plant was getting larger and stronger. See below, the first picture was taken on July 14 and on the 16th (second & third pictures) you can see it already had blossoms and they are opening. I believe these blossoms came out so fast because I finally put the plant in the sun. Also I should’ve started the seeds in February instead of April.
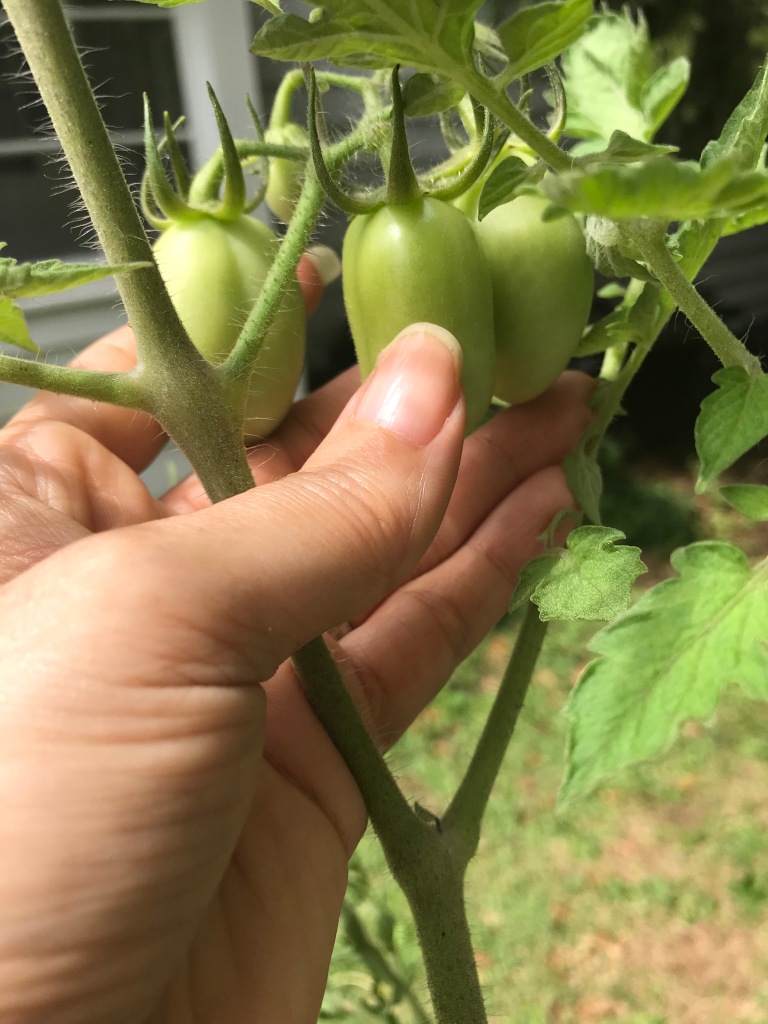
By August 5 the plants were huge and we had baby tomatoes all over the place.
The tomatoes have continued to grow. Below is August 19, and I have counted 18 tomatoes on 3 plants.
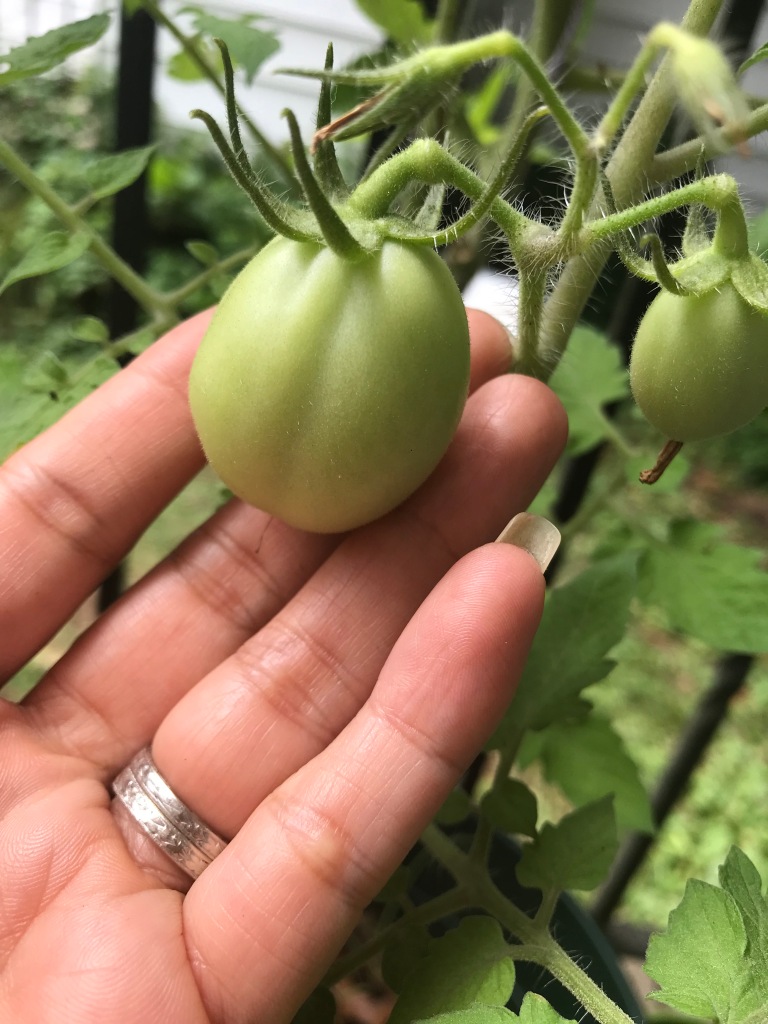
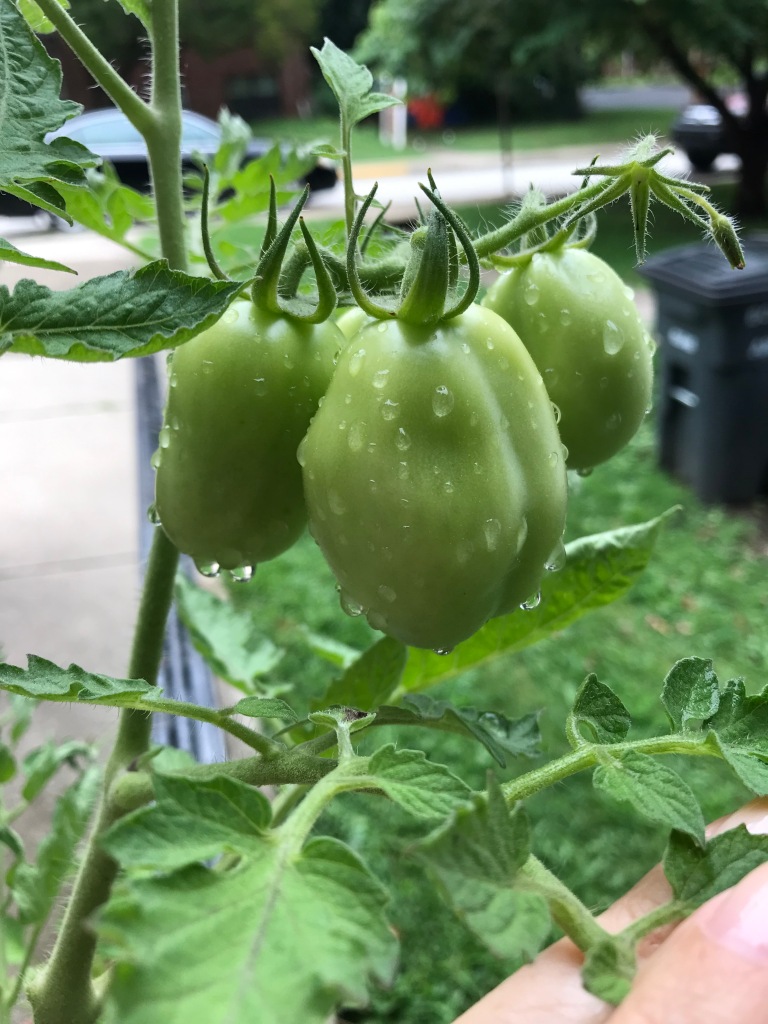
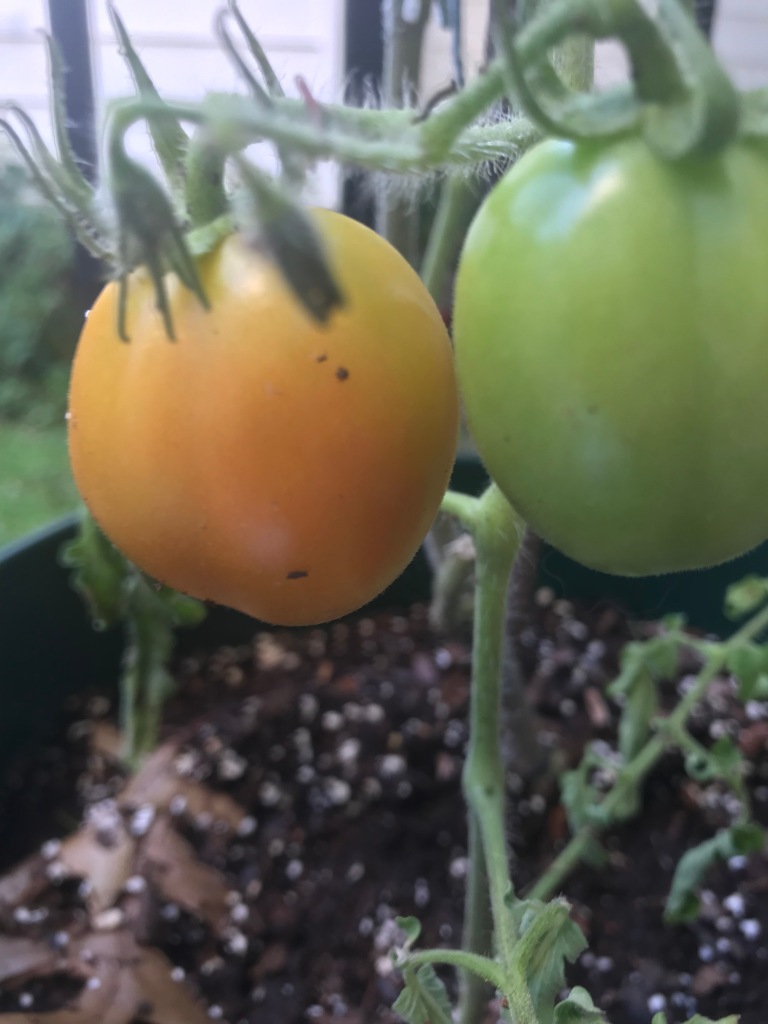
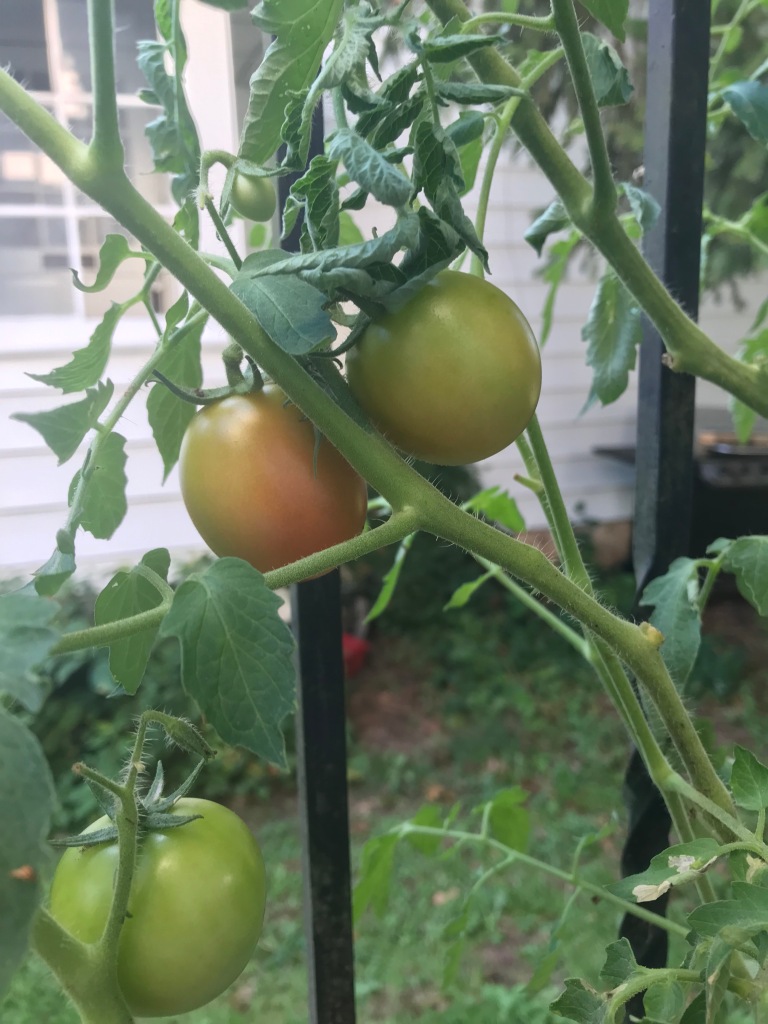
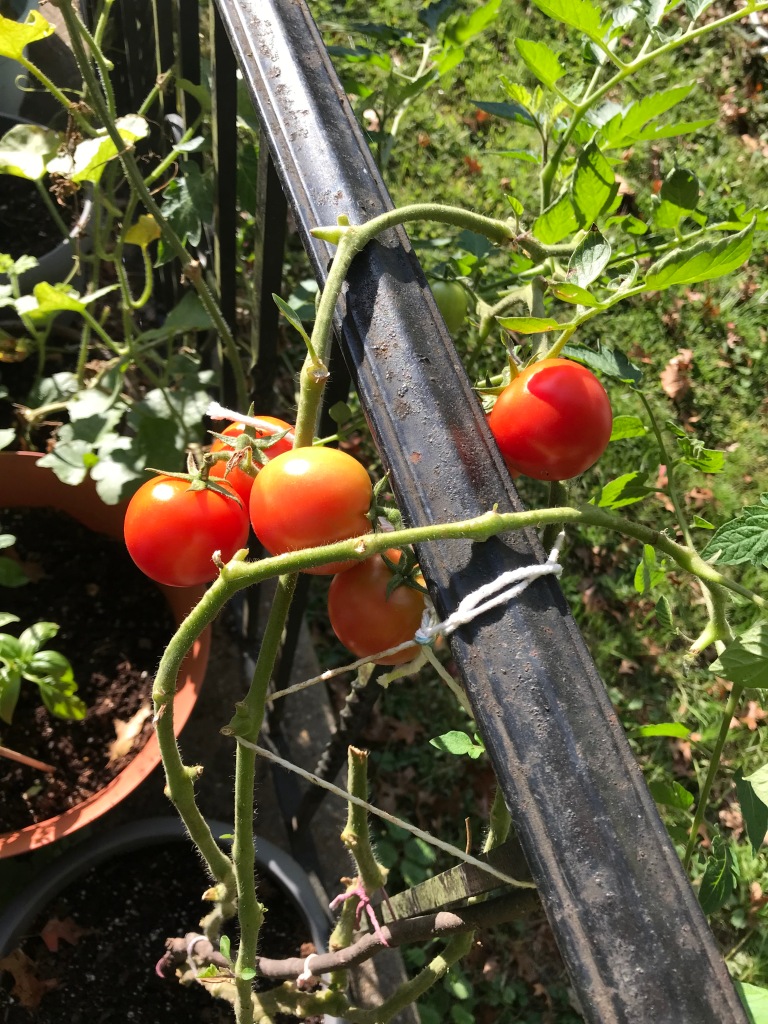
It takes a long time for tomatoes to ripen, the first 2 pictures were taken on September 7 and the 3rd picture was taken on Sept 14.
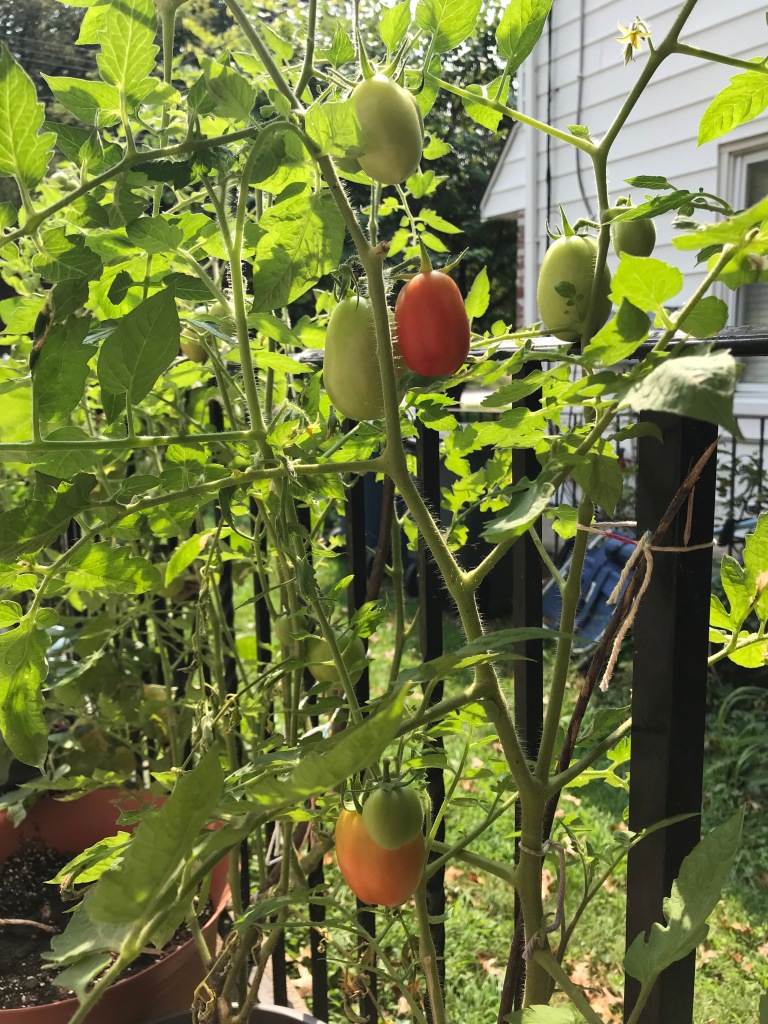
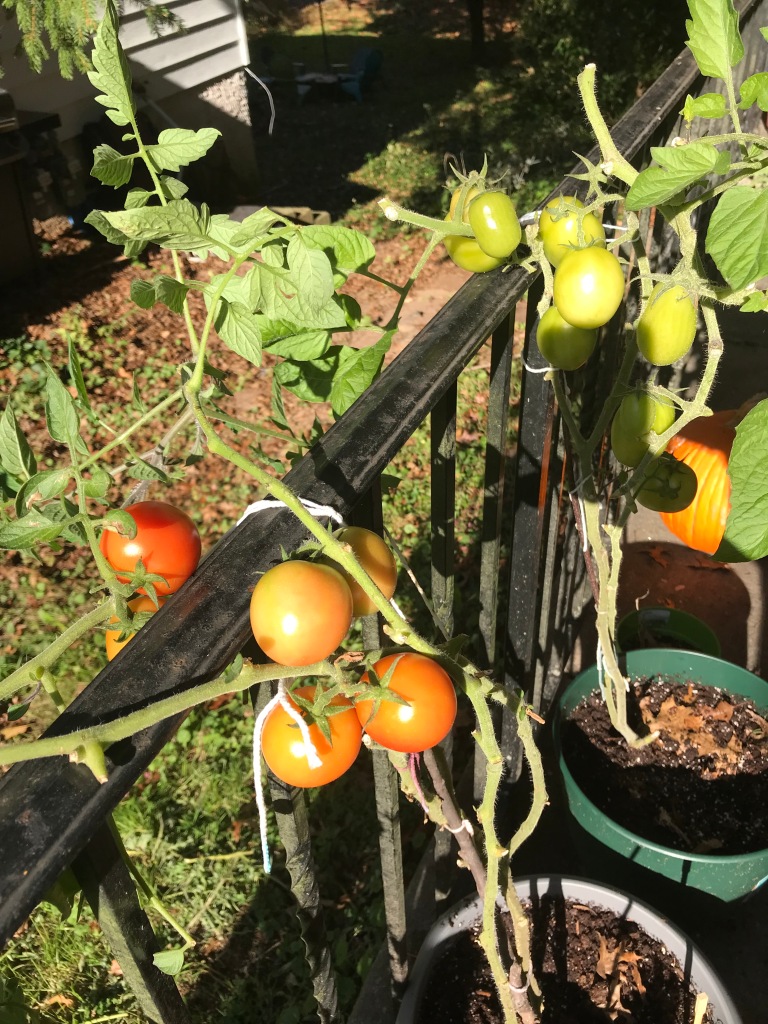
The pictures below were taken on Oct 22 so I picked a few and made salsa. By the way, just pick them when they are the color you want. If they are still pink or orange, they will ripen in a window sill.
My last harvest was on November 1 because Nov 2 was going to be cloudy all day and I knew they wouldn’t get any sun. Nov 3 would get down to 32 degrees and that would kill my plants. So I picked everything on the vines and we have been eating the tomatoes on sandwiches and salads and salsas, anything so we don’t have to cook them and we can taste the full flavor. If I had a huge garden I wouldn’t mind cooking them to make sauce and such but since we only grew about 40 tomatoes we ate them raw so we could taste them.
Have you ever planted tomatoes? Will you try it? What varieties do you like and what will you try to grow next year? Let me know in the comments below.
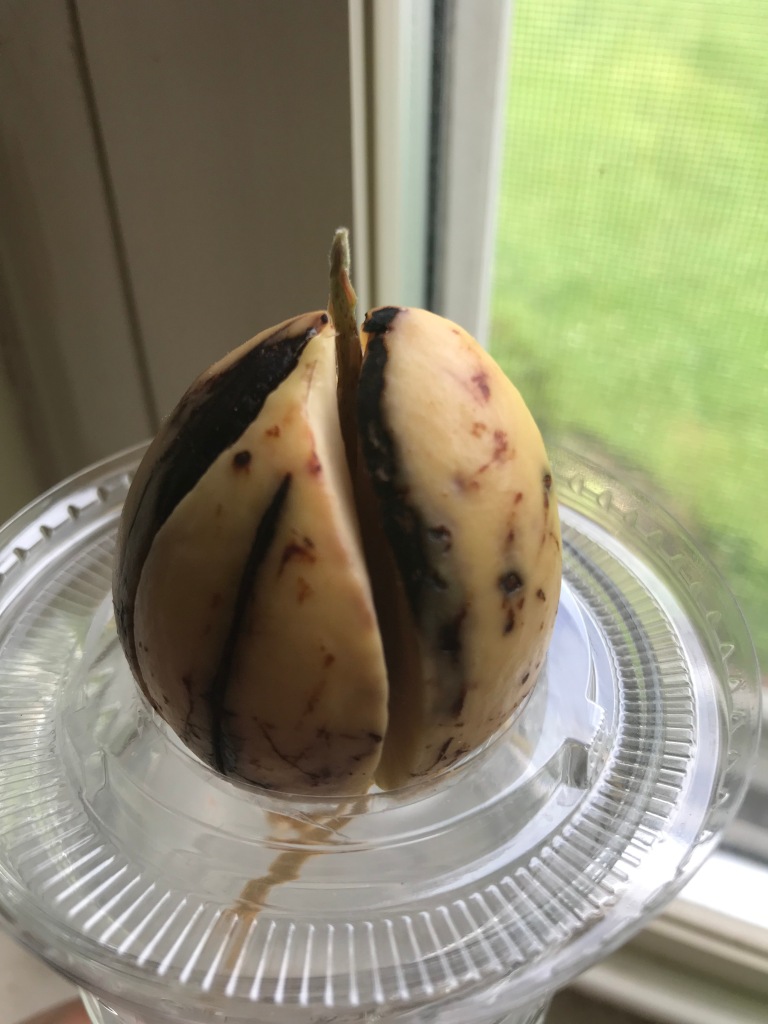
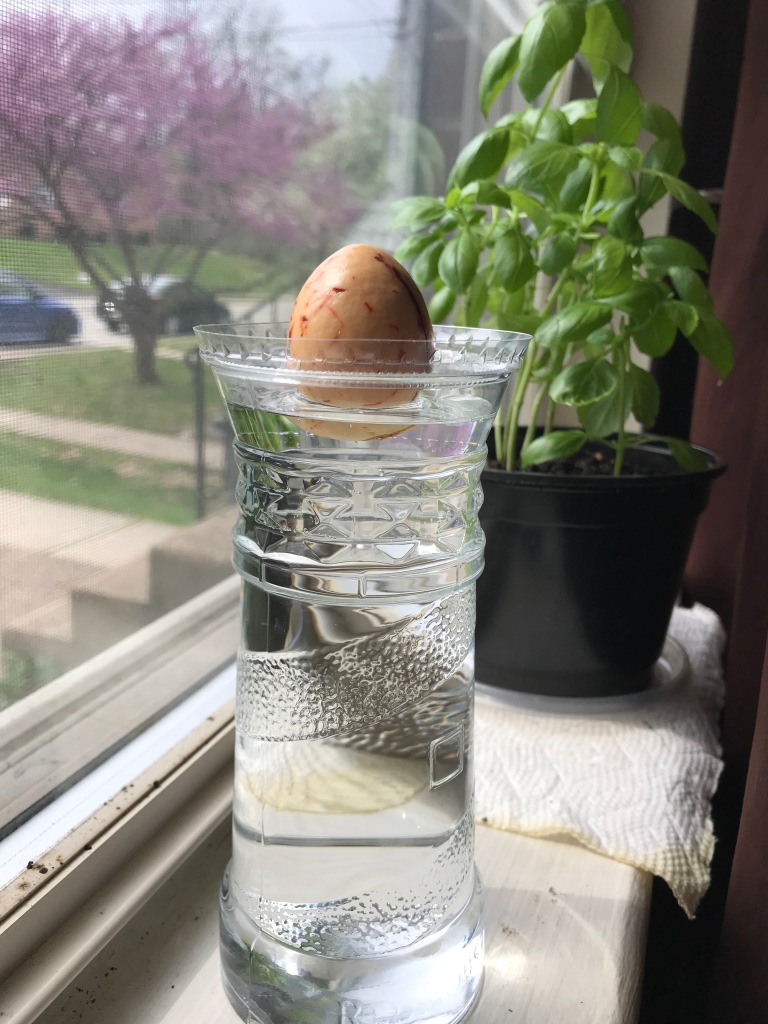
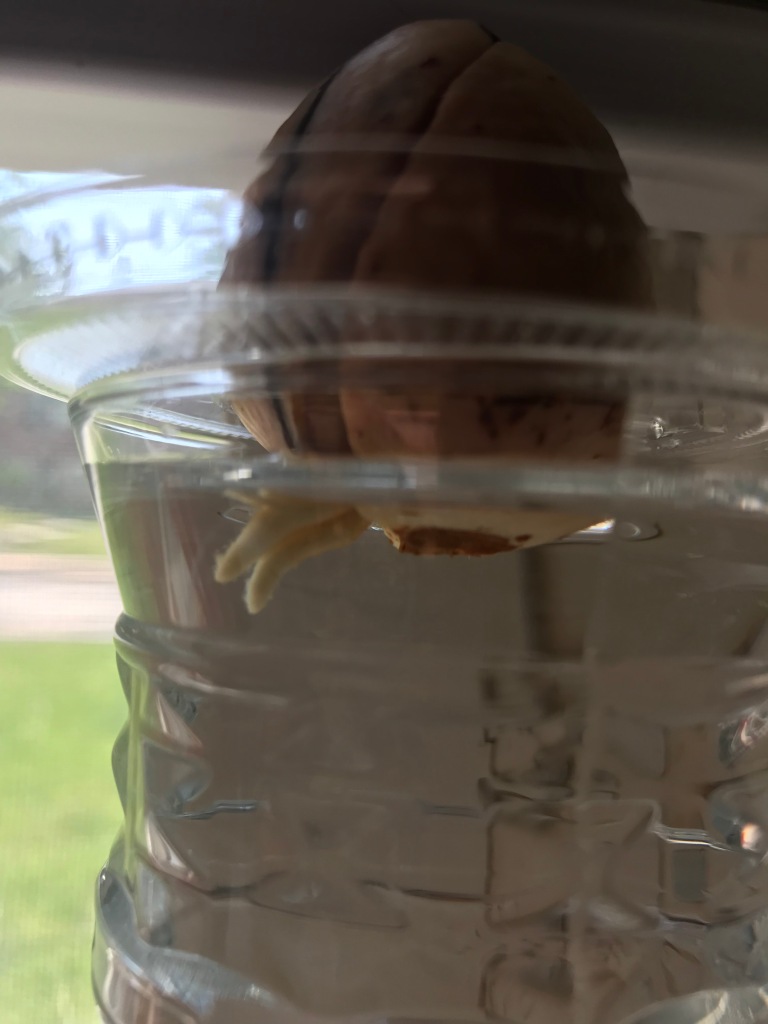
In my last post we talked about how to decide what to grow and as you can tell by the pictures in this post, I used whatever I could get my hands on to plant in. I used sour cream cups, see-through containers from the deli department at the grocery store and condiment cups. When planting and using potting mix, it is important to make sure there are enough holes in the bottom of the container to allow for drainage. In this post I will tell you about the avocado seed I have grown into a beautiful plant that thrives on water. I use purified or distilled water, both are safe to drink and I prefer them to tap water which contains chlorine. That will change in the future when we get well water. I started this avocado from an organic avocado I got from the grocery store. We had guacamole and I remembered the avocado I grew into a plant when I lived in southeastern North Carolina and decided to do it again. The first thing I did was to wash the seed and set it up to dry. I just placed it on the countertop. After a few days the seed began to wrinkle. No alarm there, it was just the skin of the avocado drying so I just peeled it off. If you skip this step and decide not to peel it off, just know it will grow mold and the water will be murky and gray and a bit slimy on the roots when they begin to grow. You can then place the seed in a damp napkin in a zip lock bag and put it away. I tossed mine in the hallway closet for a few weeks. When I remembered it, it had a large crack down the side. Again, no alarm, it usually does that to start the root. I then placed the avocado on the lid of a glass. The seed was so small it fell in, so I cut out a space in a condiment cap and it held the seed, allowing the bottom of the avocado to sit in the water. I checked my calendar and from the time I put the avocado in the zip lock bag to the time I put it in water it was a month.
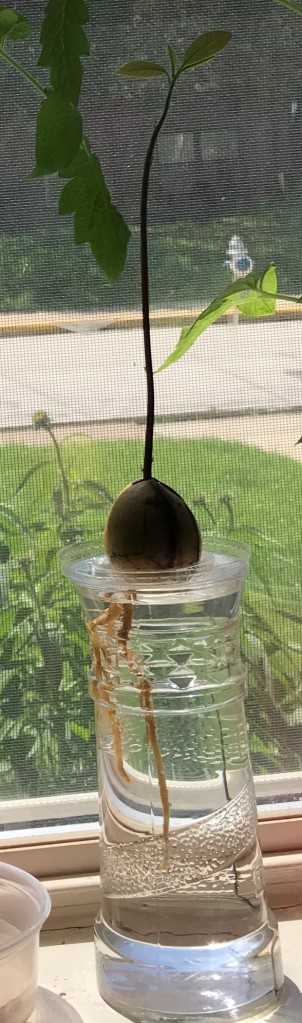
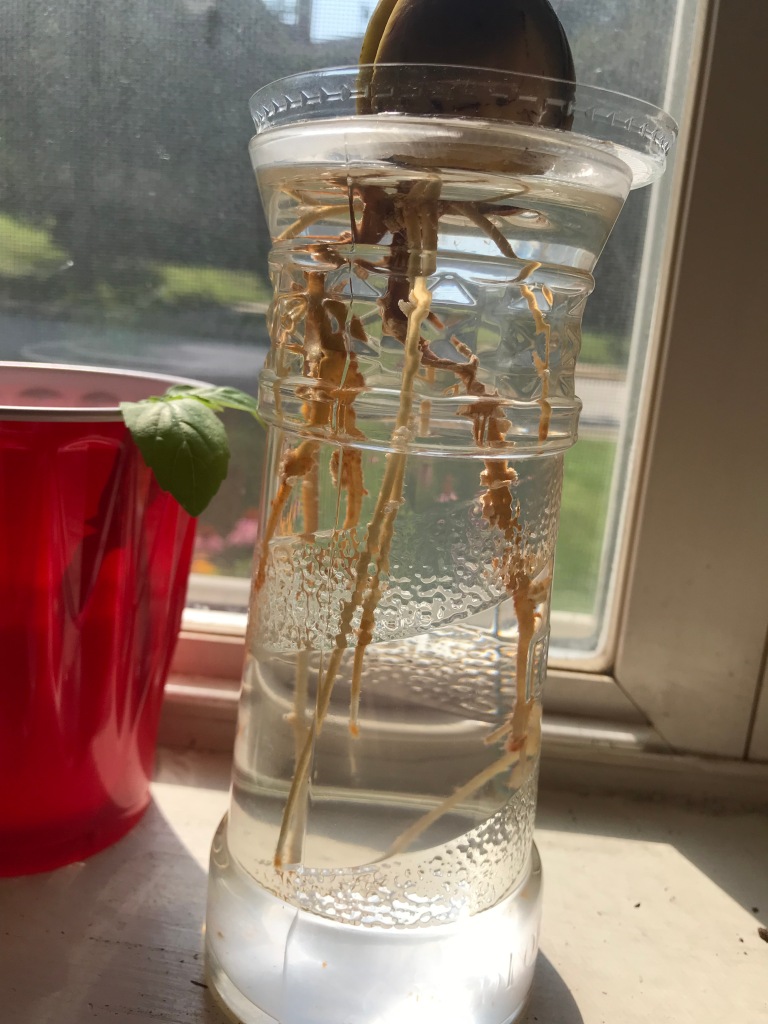
The first picture is when I decided to put the little guy in a vase of water. The 2nd picture was taken April 19, 2021 and as you can see there is a large crack down the side. The 3rd picture was taken June 10, 2021 when I noticed a stem protruding out of the seed and little roots coming out of the bottom. The 4th 5th and 6th pictures were taken between July and August and shows the over all growth of the beautiful plant. I keep the glass totally full and touching the bottom of the seed. Avocados love water. I will continue to update as long as my avocado is growing and thriving. Stay tuned for more growth.
Have you ever grown an avocado? Did you eventually plant it in soil? Let me know in the comments below.
One goal I want to make into a reality is to have a garden. For right now I don’t have a lot of space, so nothing too big, just enough for my husband and I. I don’t want to be overwhelmed and I want to make sure I can do it, I have beginners doubt. Not knowing where to start, I just knew I had to get organized, but what does it mean to get organized in gardening?
When I was growing up in Southeastern North Carolina, my grandpa had a garden next to our house. He grew cucumbers every year to take to the market and us kids would pick them for extra money. He also grew massive sunflowers, and corn. My mom had a garden behind our house with 2 peach trees, okra (gross), peas, tomatoes, potatoes and peppers. When I was a kid we hated vegetables. My mom, being raised on a farm, ate just about anything that grew from the earth. I always helped my mom in the kitchen and although she usually tended the garden, sometimes she would send me out to get vegetables for dinner. I always hated it, mainly because the vegetable she had me pick was the okra. They were prickly, they hurt and they were slimy when you cook them, so of course I hated them, and couldn’t eat them because they triggered my gag reflux. It wasn’t until my mom had me digging up potatoes for dinner one evening that I realized she wanted me to pick them so we could eat them, and not to punish me. I guess I associated getting pricked by okra, with being punished because I didn’t eat any of the vegetables I picked until it was time for potatoes. I did eat potatoes. So remember to plant what you like, not what everyone else is growing. If you are thinking about growing your own food like I am, here is how to get organized and assess your situation.
1. How Much Room Do You Need?
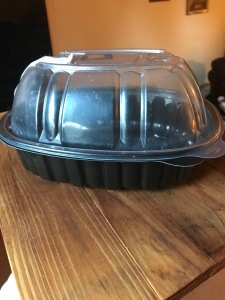
This is important because you may eat lots of vegetables but you live in a small apartment without a balcony and get very little sun. This will limit you but not if you are determined. Whether you are planning on a sidewalk garden like mine, or just growing a few pots of herbs in a window sill, or if you are planning on a larger garden because you have a good space to grow, this post can get you started. You can start small with 1 vegetable you really like. Not having adequate sun means you can start with vegetables that do well in shade. You don’t have to go out and buy pots most vegetables that do well in the shade don’t have a very long root system so you can start the seeds in yogurt cups, or paper pots, or even toilet paper rolls. Just make sure there is adequate drainage like a few holes in the bottom. As the plants get bigger you can transplant them into larger containers like a clean, small bathroom trash can, and old cloth grocery bag, 8-10 inch pots, there are lots of things you can use. Make a list of the small food containers you have or make a note to save a few. A rotisserie container is great as well for starting seeds and aiding in germination.
2. What vegetables do you eat most often?
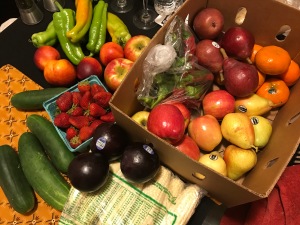
For my husband and I we eat lots of tomatoes. It has become a tradition for us to have pizza on Friday’s. Every Friday I work up some dough, shred some cheese and cook a 28 ounce can of San Marzano tomatoes for the sauce. I don’t use the entire can on the pizza, we use the rest as a dipping sauce for the crust. That is at least 40-52 cans of tomatoes per year. We also eat green beans, bell peppers, long hots, jalapenos, collards, onions and garlic every week. I ferment cabbage to make sauerkraut, we eat cucumbers every week in salads and I make pickles. Occasional vegetables are squash, zucchini, and pumpkin and lots of herbs. Make a list of the vegetables or fruits you eat most often.
3. How Much Sun Can You Provide?
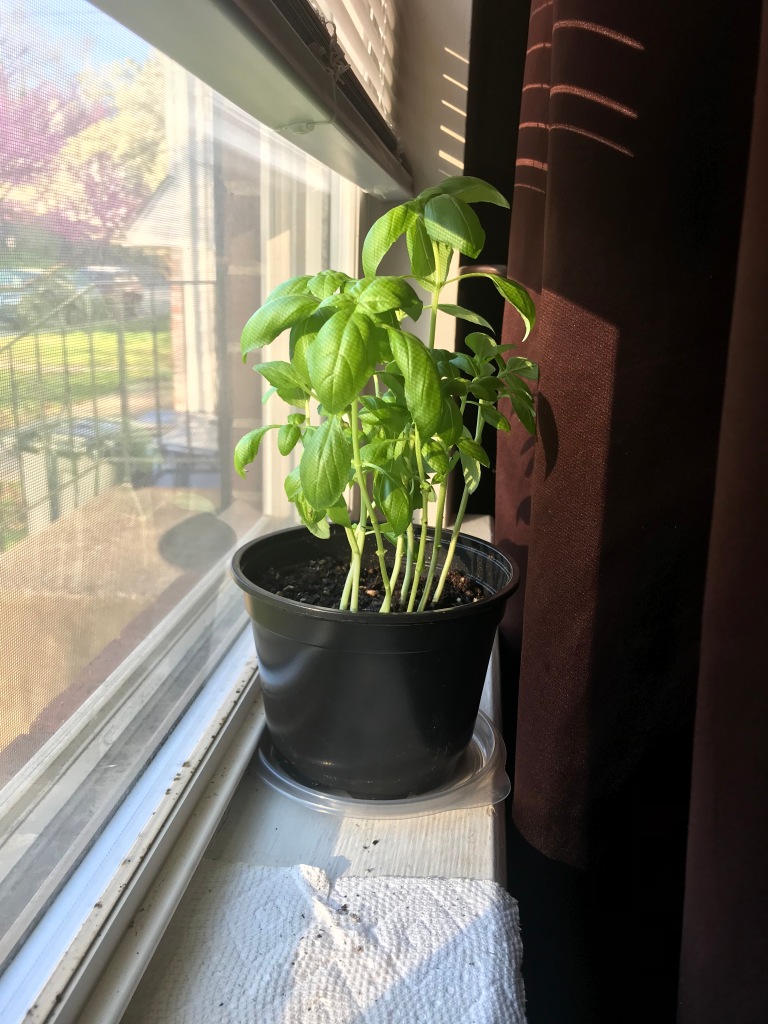
Some people start seedlings in a window sill or on a table next to a window. Most vegetables need full sun, this means at least 6-8 hours of the sun shining on the seedling or vegetable every day. Check your window or exterior doors and any outside areas you have access to. Some people notice the sun shining on the floor at some part of the day either through a window or an open glass door. Check the time when the sun starts shining through and just keep an eye on it. This will let you know how much sun you can provide. The basil in the window below gets exactly 6 hours. If you don’t get any sun you can use grow lights. If you only get a few hours decide whether you would consider using grow lights. Research the cost. They don’t have to be the expensive “grow lights” . If you don’t want to use grow lights, list the vegetables that will grow in the amount of sun your situation can provide. If you are open to grow lights, list the vegetables you are interested in growing.
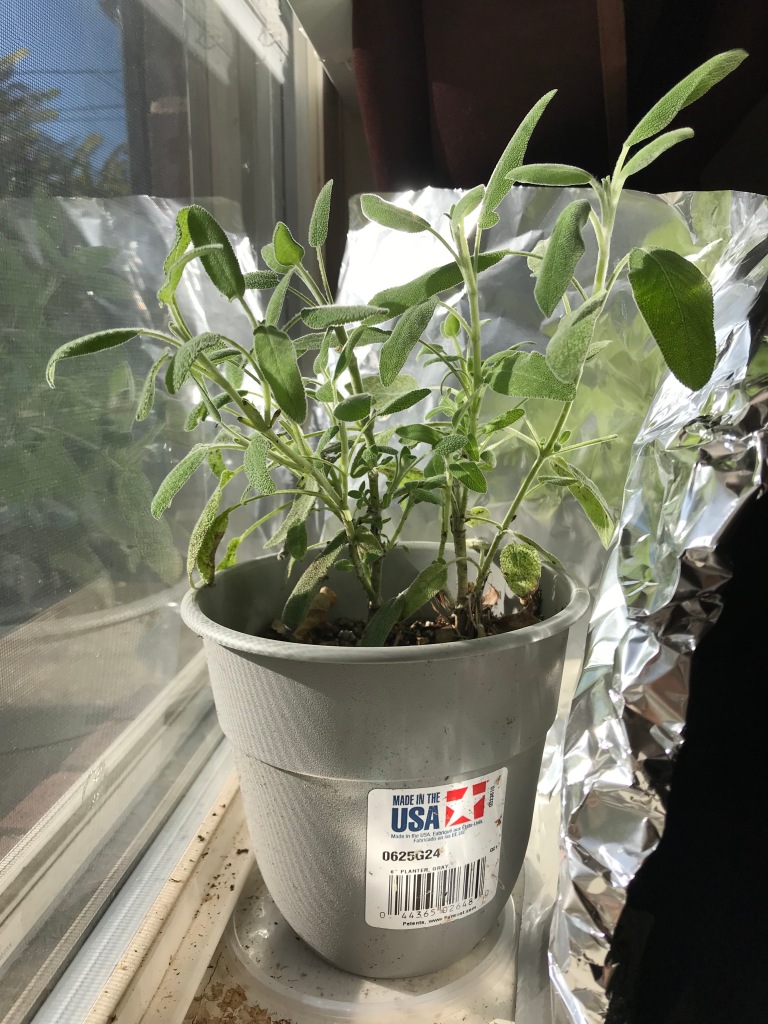
You can also use a background with aluminum foil to reflect light.
4. How Much Room Will The Vegetable Need To Grow and Ripen?
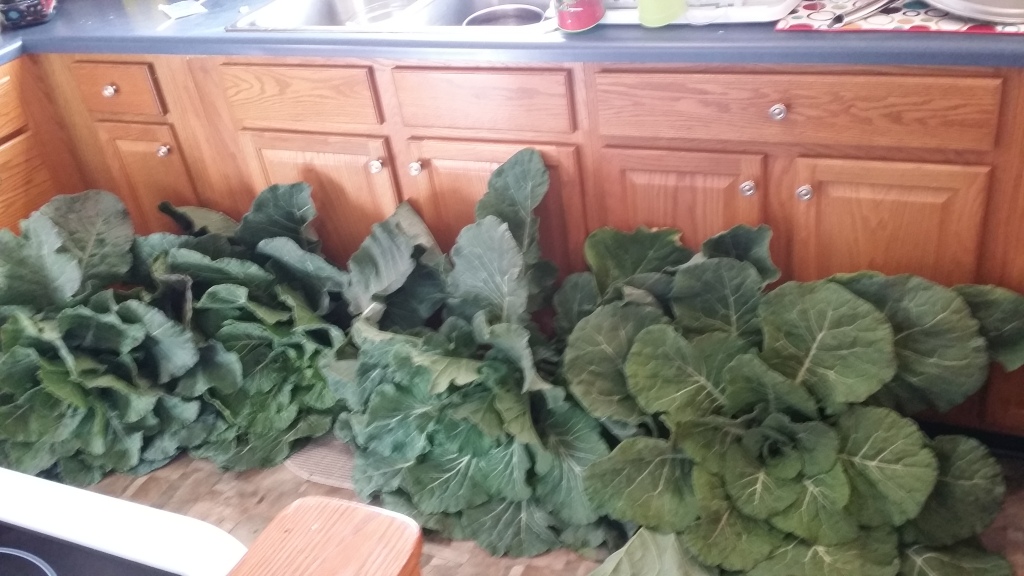
The small containers you choose to germinate, or transplant seedlings to give a bit more room are all fine, but what do you do when they outgrow the yogurt container or rotisserie container? That is why it is important to consider how much room you need. Collards can get very big. Here are 4 heads of collards I got from the garden when I lived in North Carolina. They really need some cooler weather because they are more tender after the first frost so outdoors would be best but can be grown in 5 gallon buckets.
Tomatoes are great and can also be grown in doors, but they will also need space. There are thousands of varieties out there just choose the right variety if you have limited space. If you only want tomatoes for salads you could grow cherry tomatoes. Chose a tomato that is “determinate” this means it has a determinate height and will only grow within a certain height. Indeterminate tomatoes will grow very tall. Some people set up a sturdy trellis so the tomato vine will have adequate support. Indeterminate tomatoes will continue to produce tomatoes and will continue to grow longer/taller until it gets too cold or is killed by disease. Some grow up to 22 feet. If you are determined to grow a certain variety and they are a vine that will grow up to 22 feet, you can cut the tops when they reach the top of the trellis. This will make the plant focus on ripening the fruit that is already there instead of growing longer to produce more fruit. Now that you have an idea of what you would like to grow look over your list. Do you have a window sill to start? Will you be using grow lights or buckets outdoors? How much space can you provide for your plant to mature? It is great if you have a balcony or even a small corner of a sunny room. Vertical gardening is a thing. Figure out how much fruit one plant will produce and decide if this is enough for you, if not think about caring for 2 plants. Or maybe you just want enough fruit for sometimes. It really is up to you. If you produce too much you can always offer some to friends, or look up some recipes you haven’t tried before or try preserving them in a brine. I want to grow so many things, but since I don’t have a balcony or a yard yet I do have a window sill that I can utilize and a sidewalk with a hand rail to support veggies. I already have basil growing and have had it for several months now but I want to grow tomatoes. Do you have a list ready? Or maybe just one or two items to make sure you can grow something? If you know the variety of the plant you want there are lots of places that sell seeds. Walmart being one. Walmart sells lots of seeds from Burpee and also True Leaf Market and they may sell others these are just 2 that I know of. There are lots of seed websites out there like Johnny Seeds and Southern Exposure Seed ExchangeOrganic Heirloom Seeds but also Amazon and Walmart.com so do your research. If you have chosen the variety of your vegetables, light source and where you will grow them, Congratulations! You have assessed your situation and you are getting organized!
Are you thinking about what you can grow? What do you want to grow? Food? Flowers? Herbs? Let me know in the comments below.